Creative Motion Control Course Documentation
Course project documentation
View the Project on GitHub Creative-Motion-Control-Course/Team-O
Milestone 2: Mid-point Class Review
1. Adapt the 3D printer Ender and connect it to Stepdance and Teensy
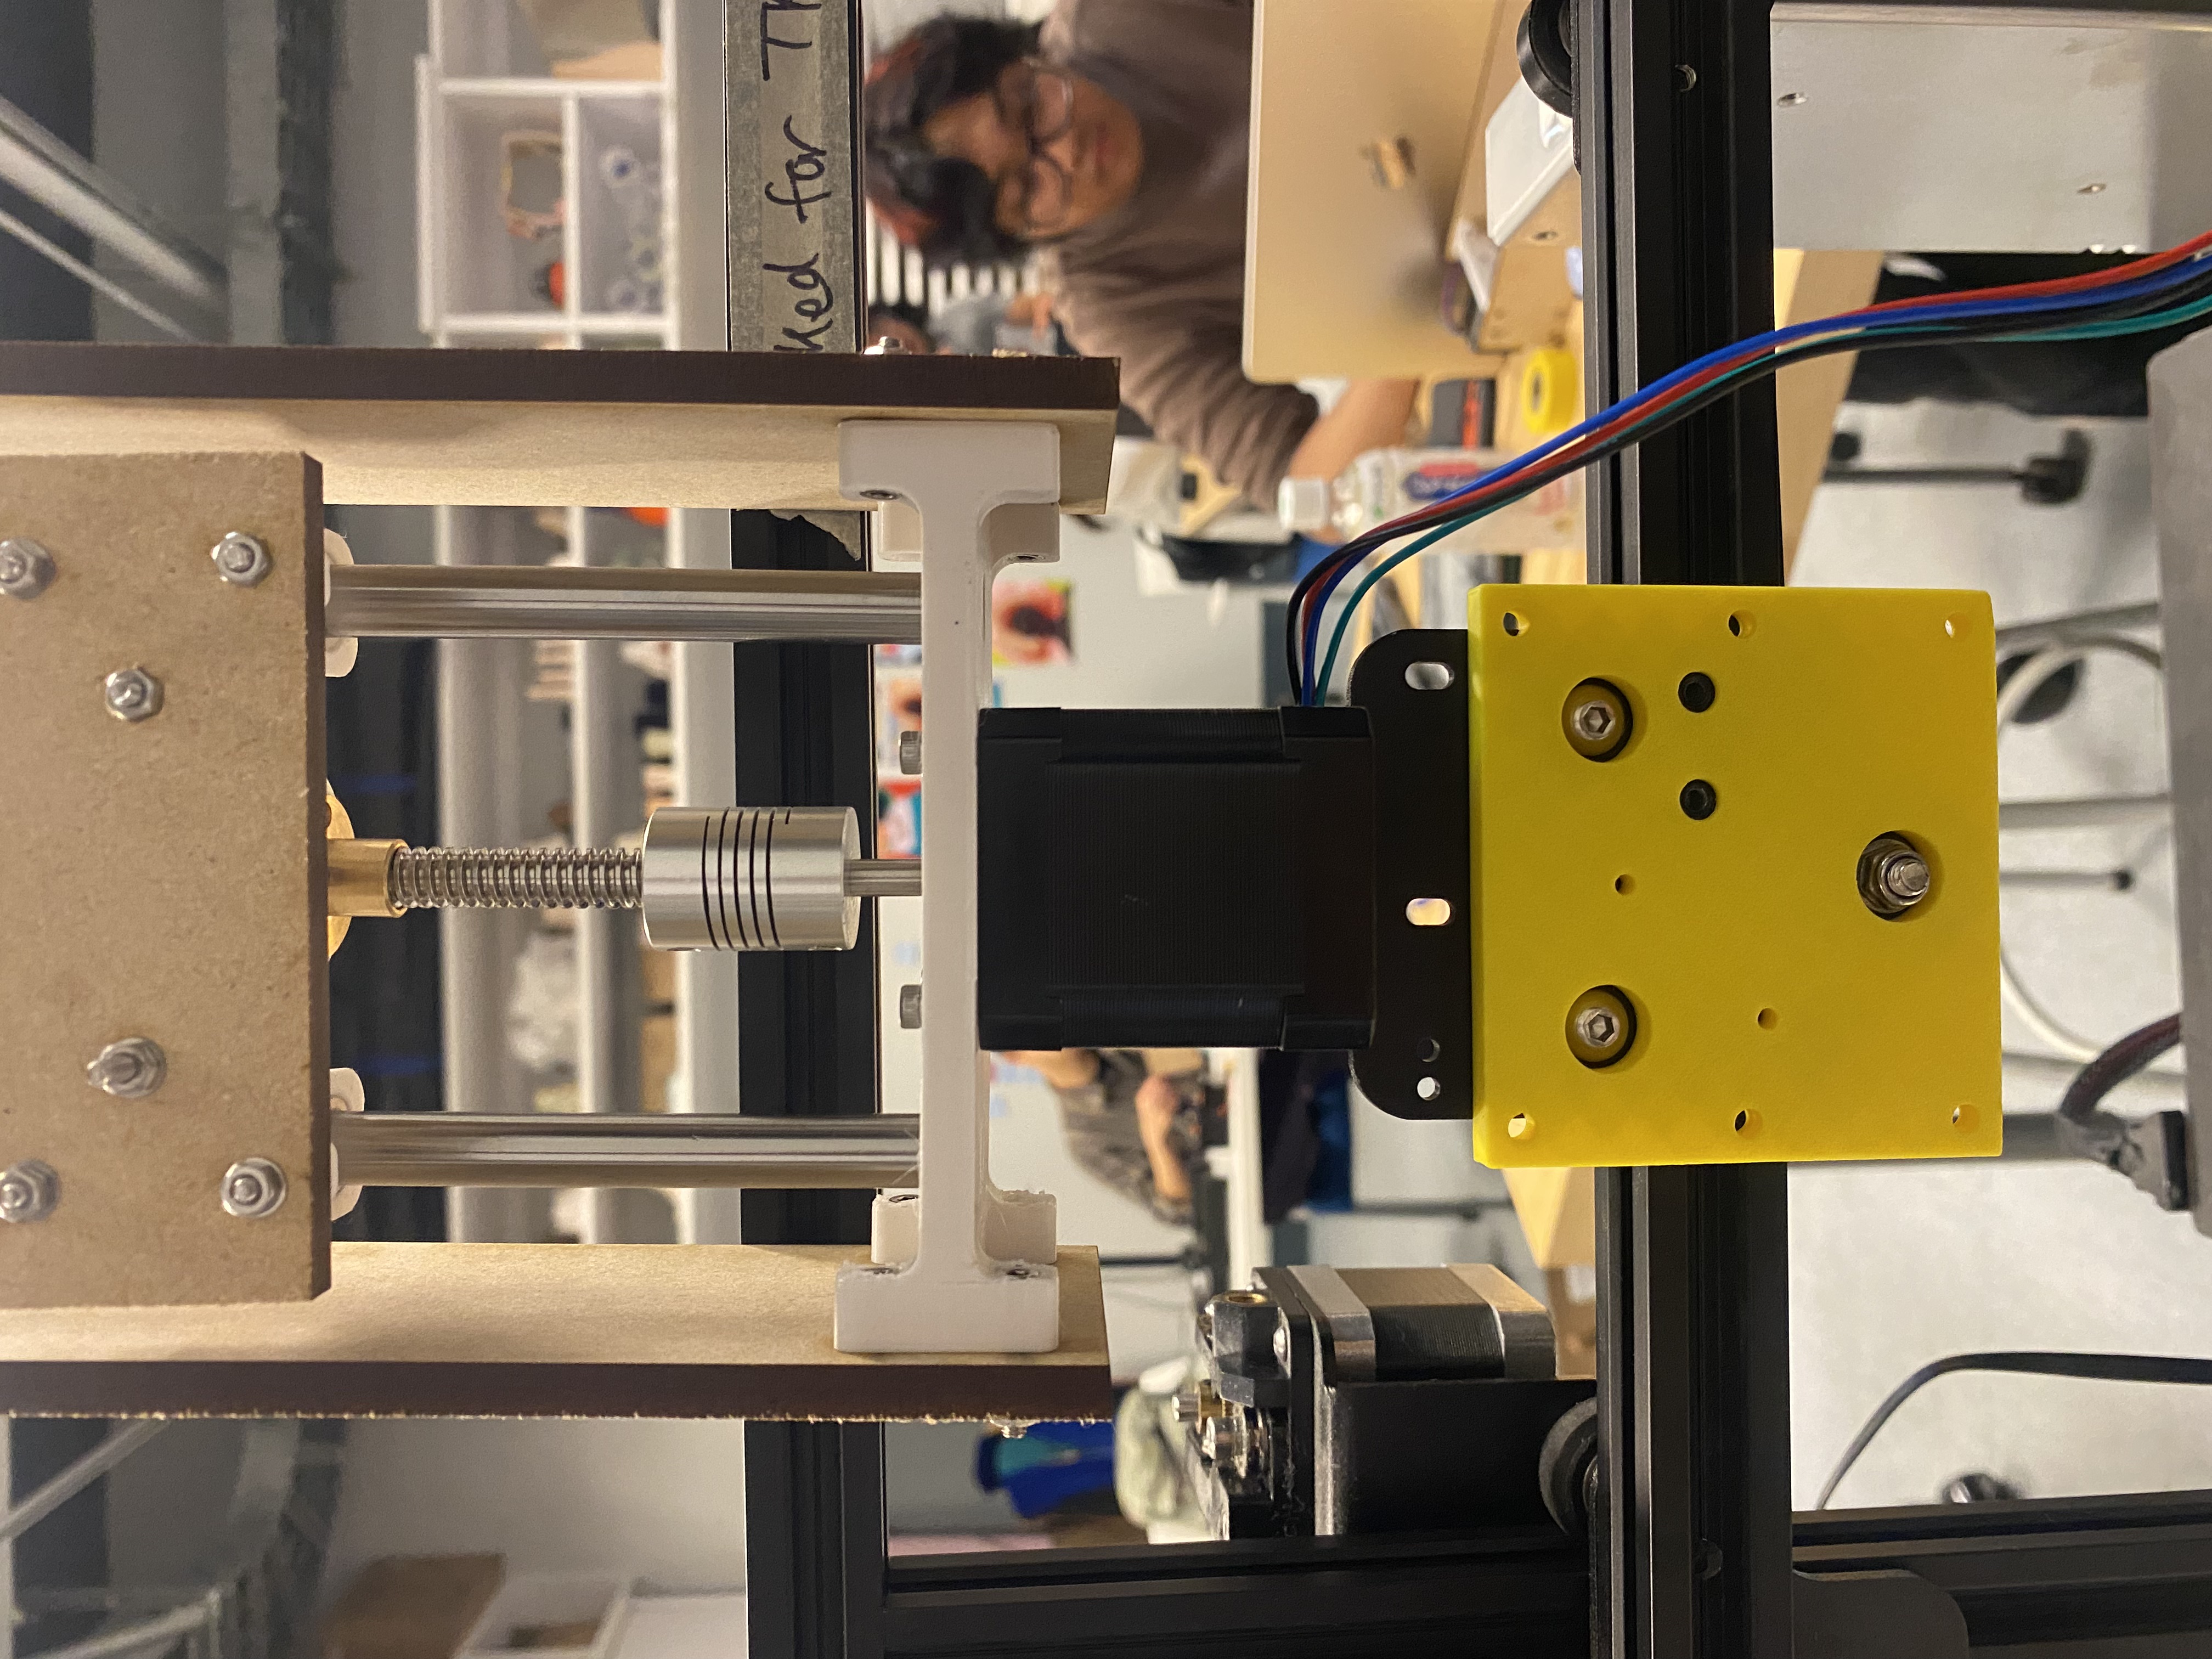
We worked on adapting the Ender machine with Emily. We used what we learned from the analog slider about crimping and electronics. We do not need an encoder to control the Z axis and the extrusion system; that is the most important conclusion of this step.
2. First idea for the syringe holder
After talking with the instructors, we defined that the final design is to place the syringe beside the stepper motor.
- We decided to use the same system Jennifer showed: a stepper motor moving the system up and down with a lead screw.
- We evaluated the two designs Alejandro proposed and selected the one where the stepper motor is mounted on top of the metal plate.
- We tested the weight of the whole lead screw motion system on the plate to see if it could resist. It performed very well.
- We figured out how we are going to hold the screw motion system, but we still need to solve how we are going to hold the syringe.
3. 3D printing v1
We designed the first motor holder piece using Fusion. We printed it and noted some issues, so we need to iterate. With Alejandro’s help we changed the design and printed again.
4. 3D printing v2
The result was more resistent than before and now we are able to mount the stepper motor. We still have some problems with the model so we need to model and print again.
Challenges and proposals
Syringe
Since we do not have the syringe yet, we decided to buy one. That way we can try a cardboard mockup before modeling.
Syringe holder
We are considering to use threaded insert to join the syringe.
Joystick control
Since we need to adapt the joystick to receive two encoder signals, we decided to use keyboard arrows first as a preliminary step.
Pictures and video
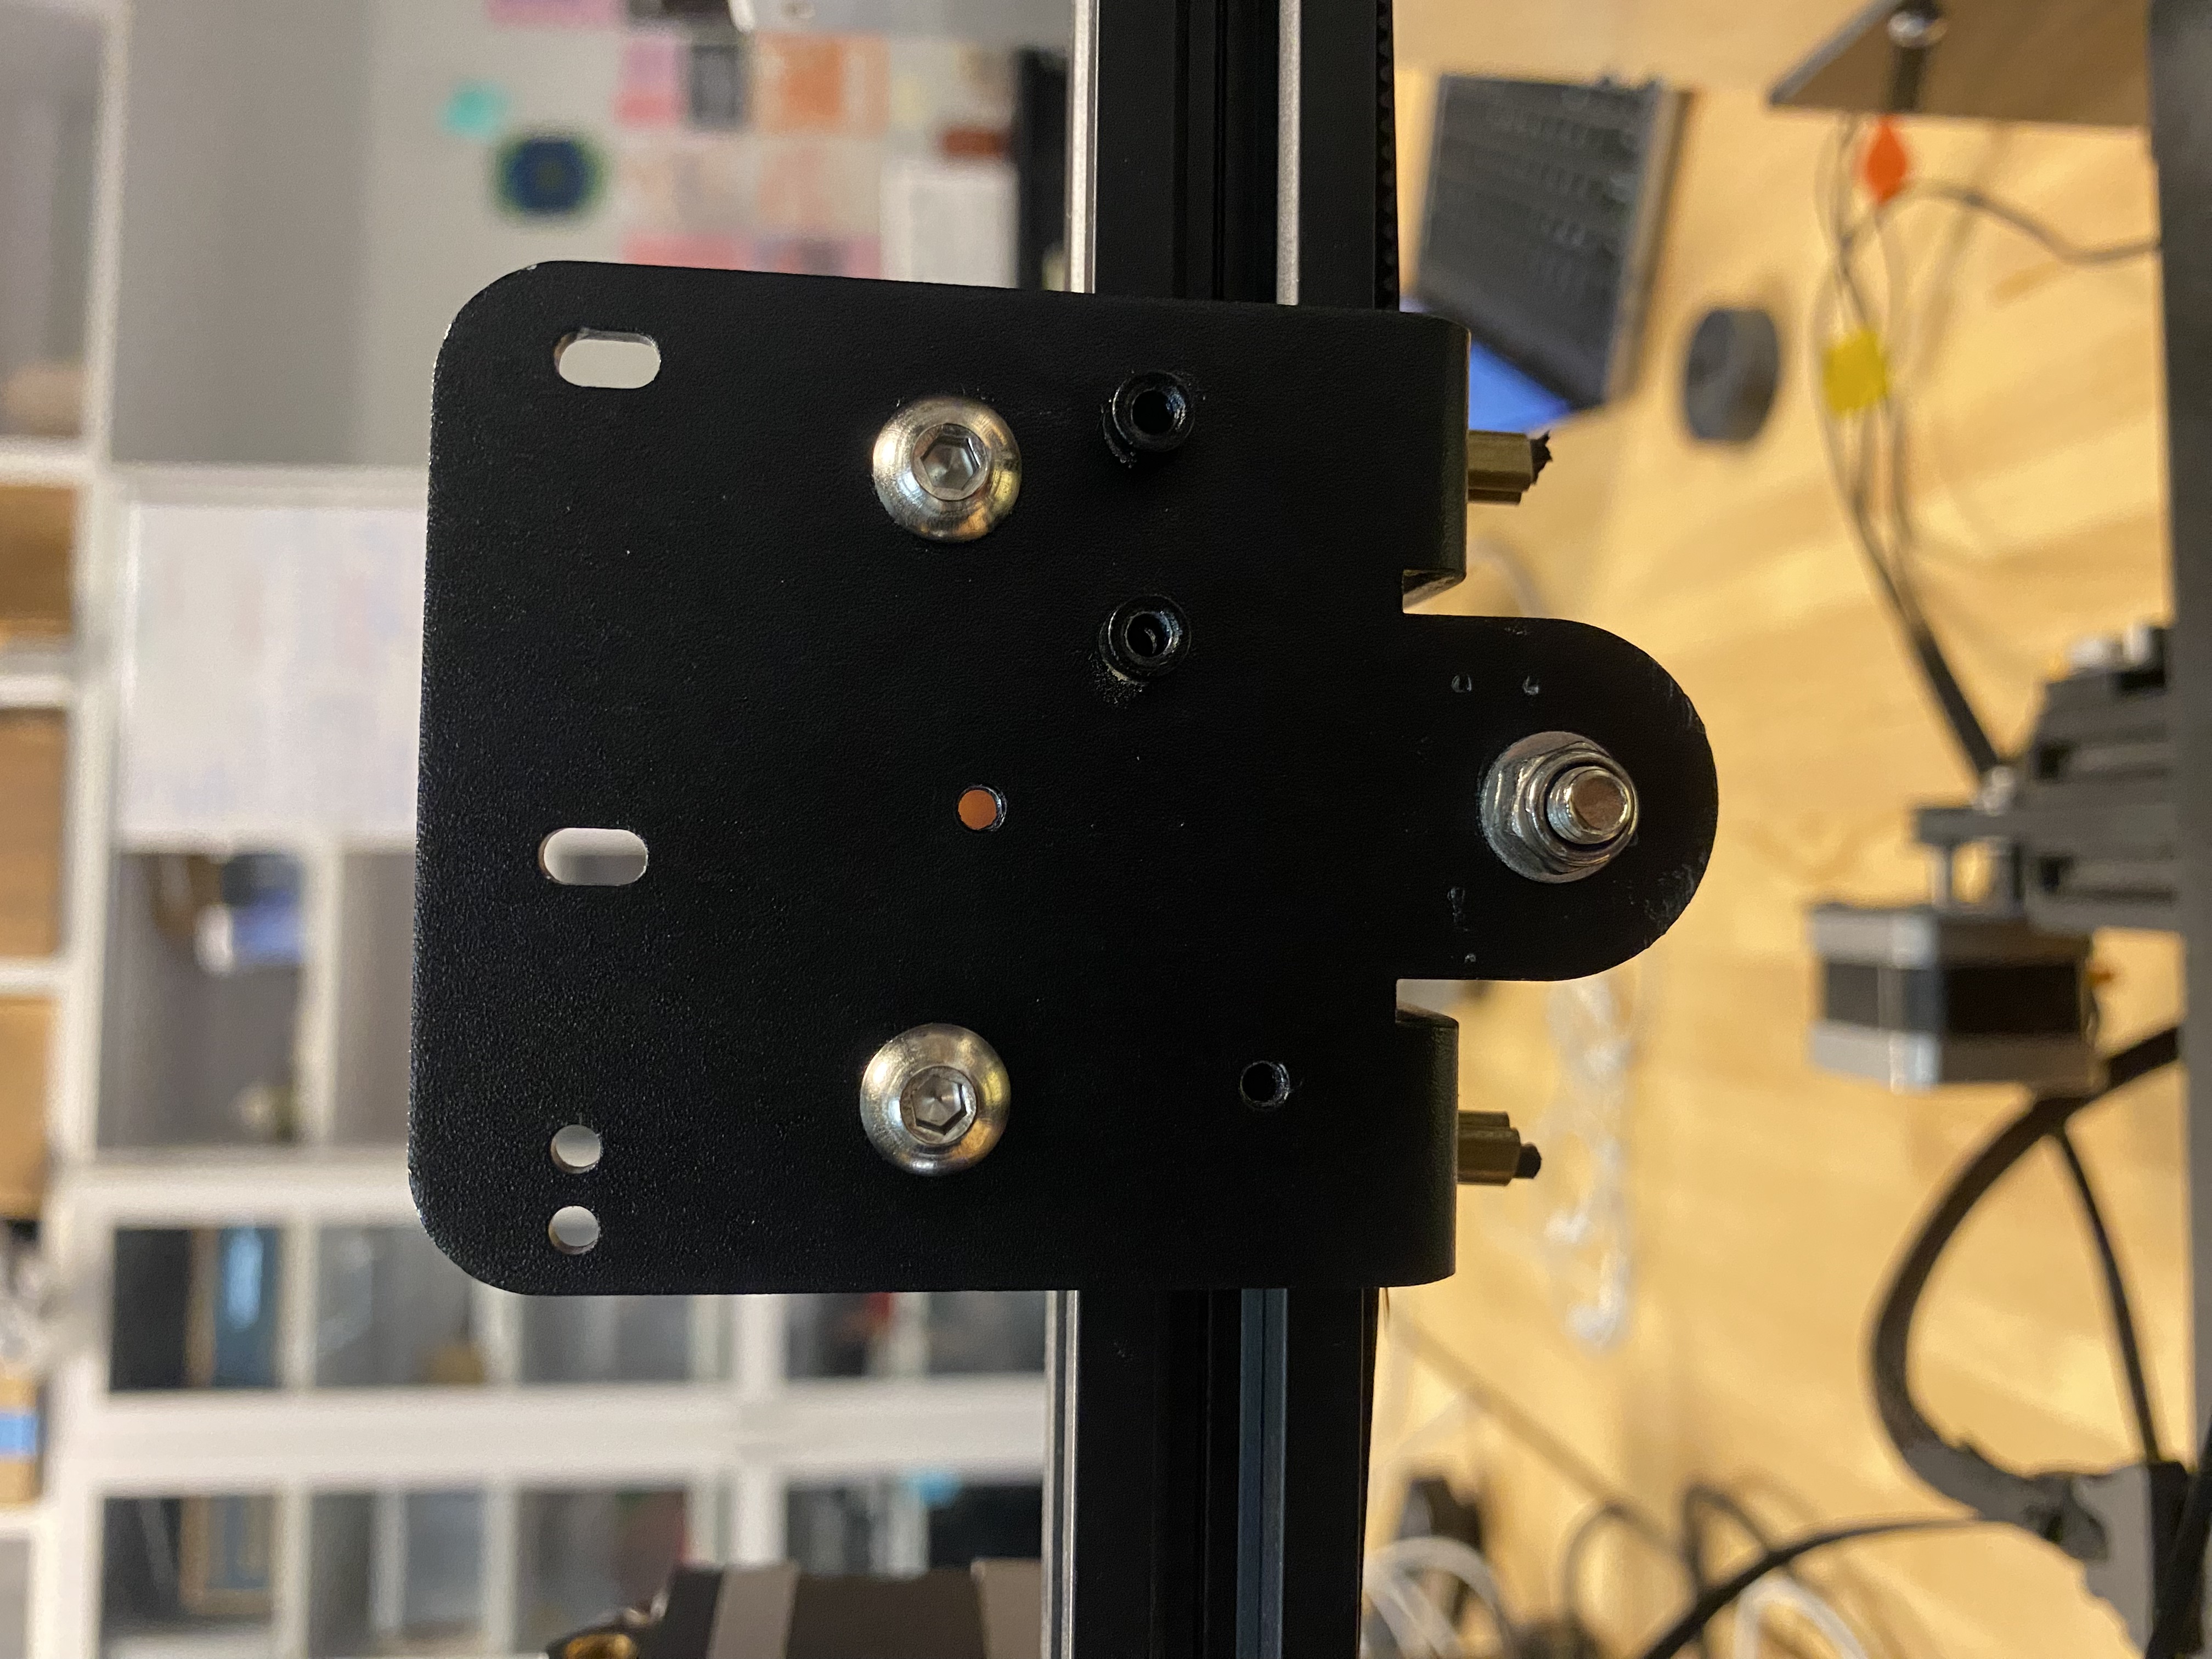
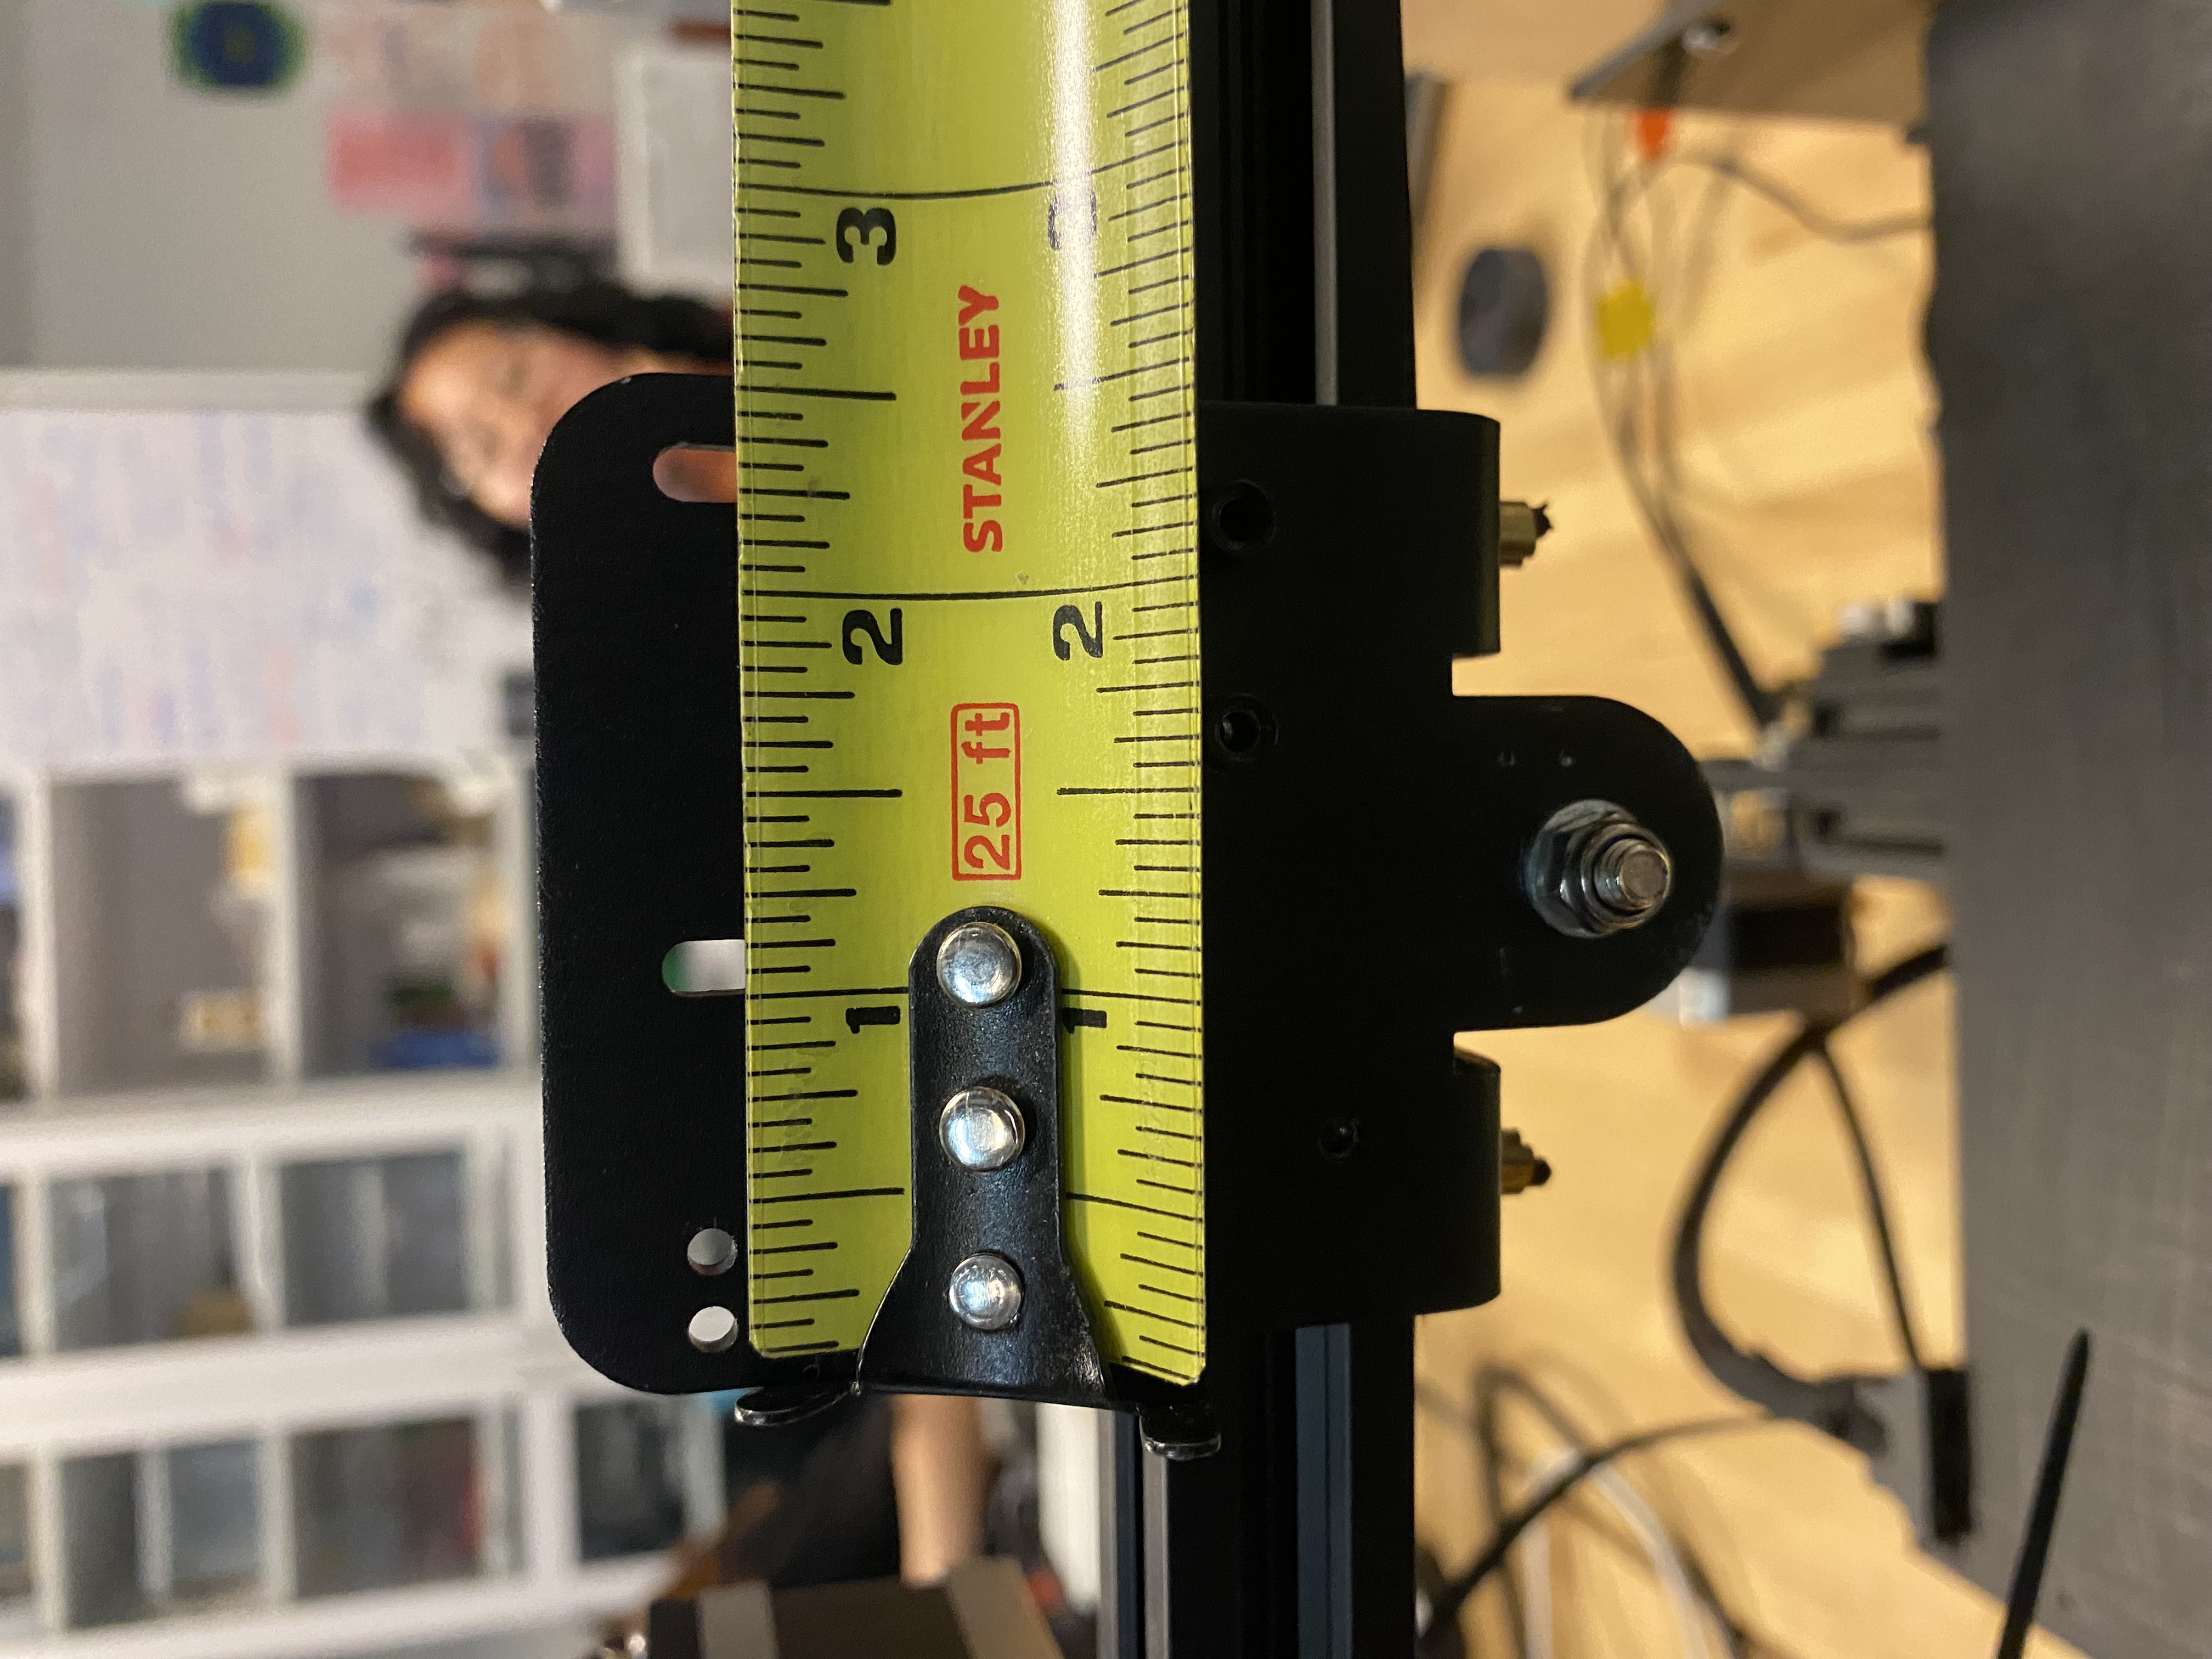
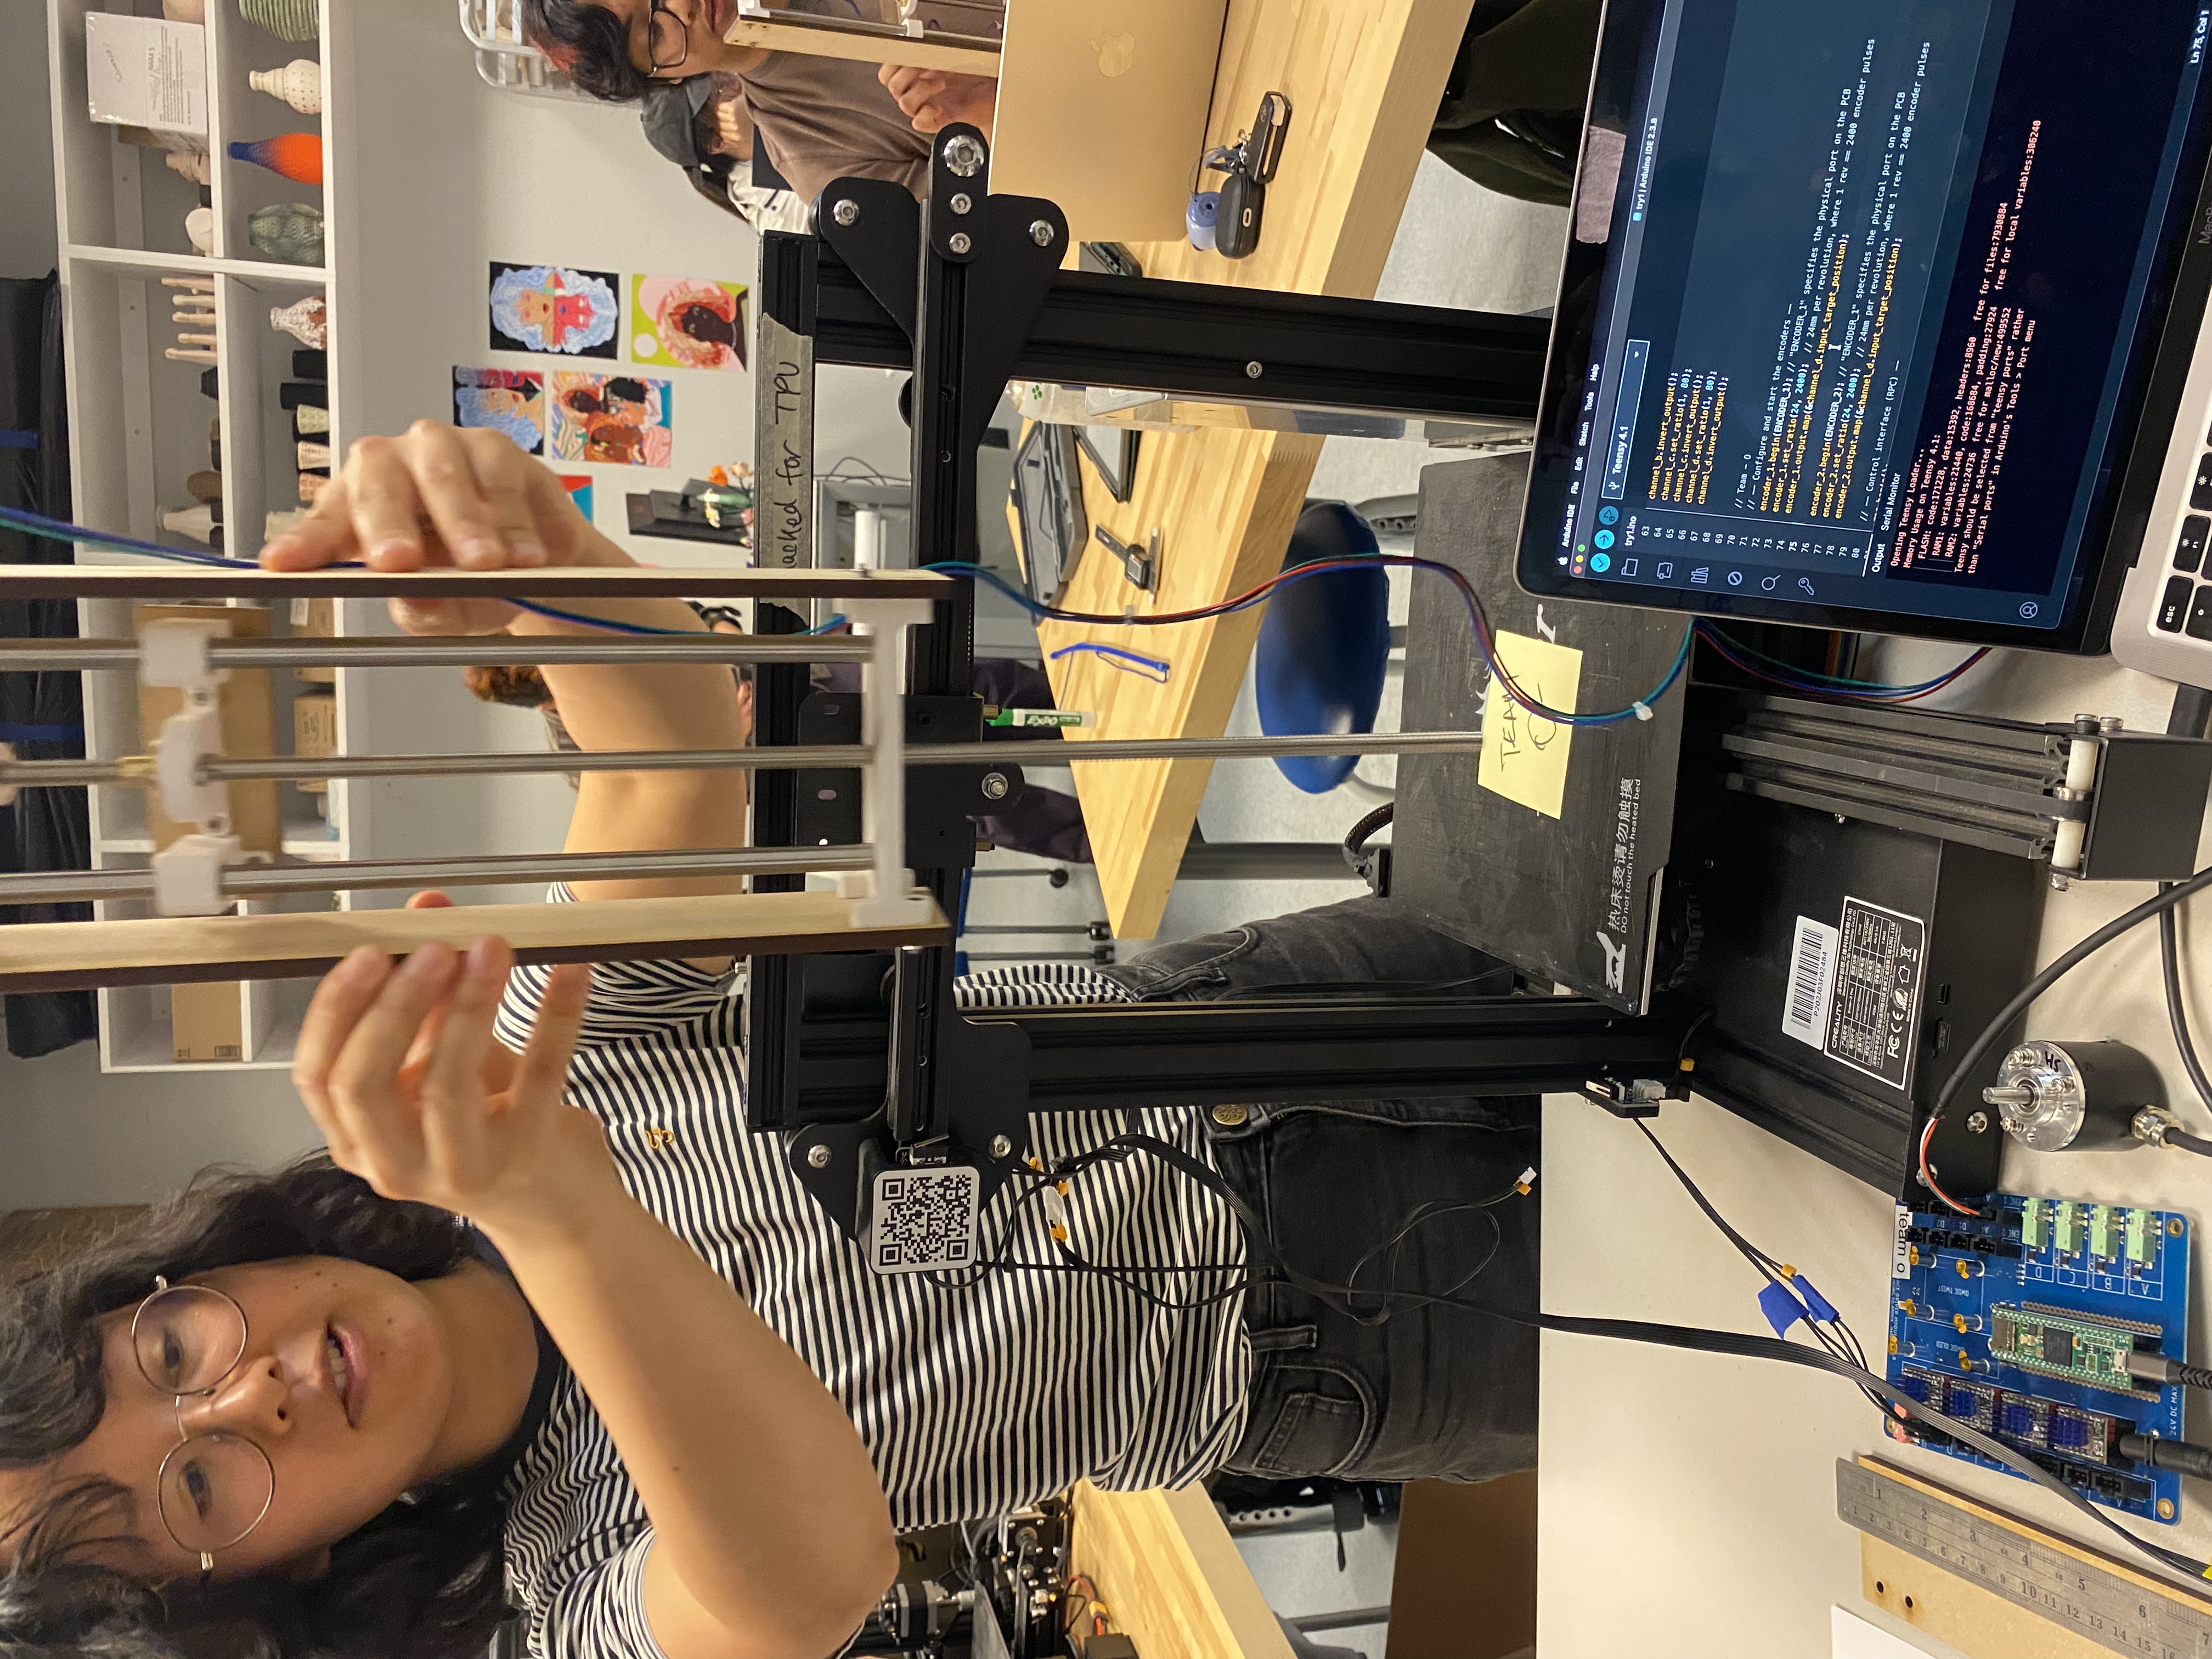
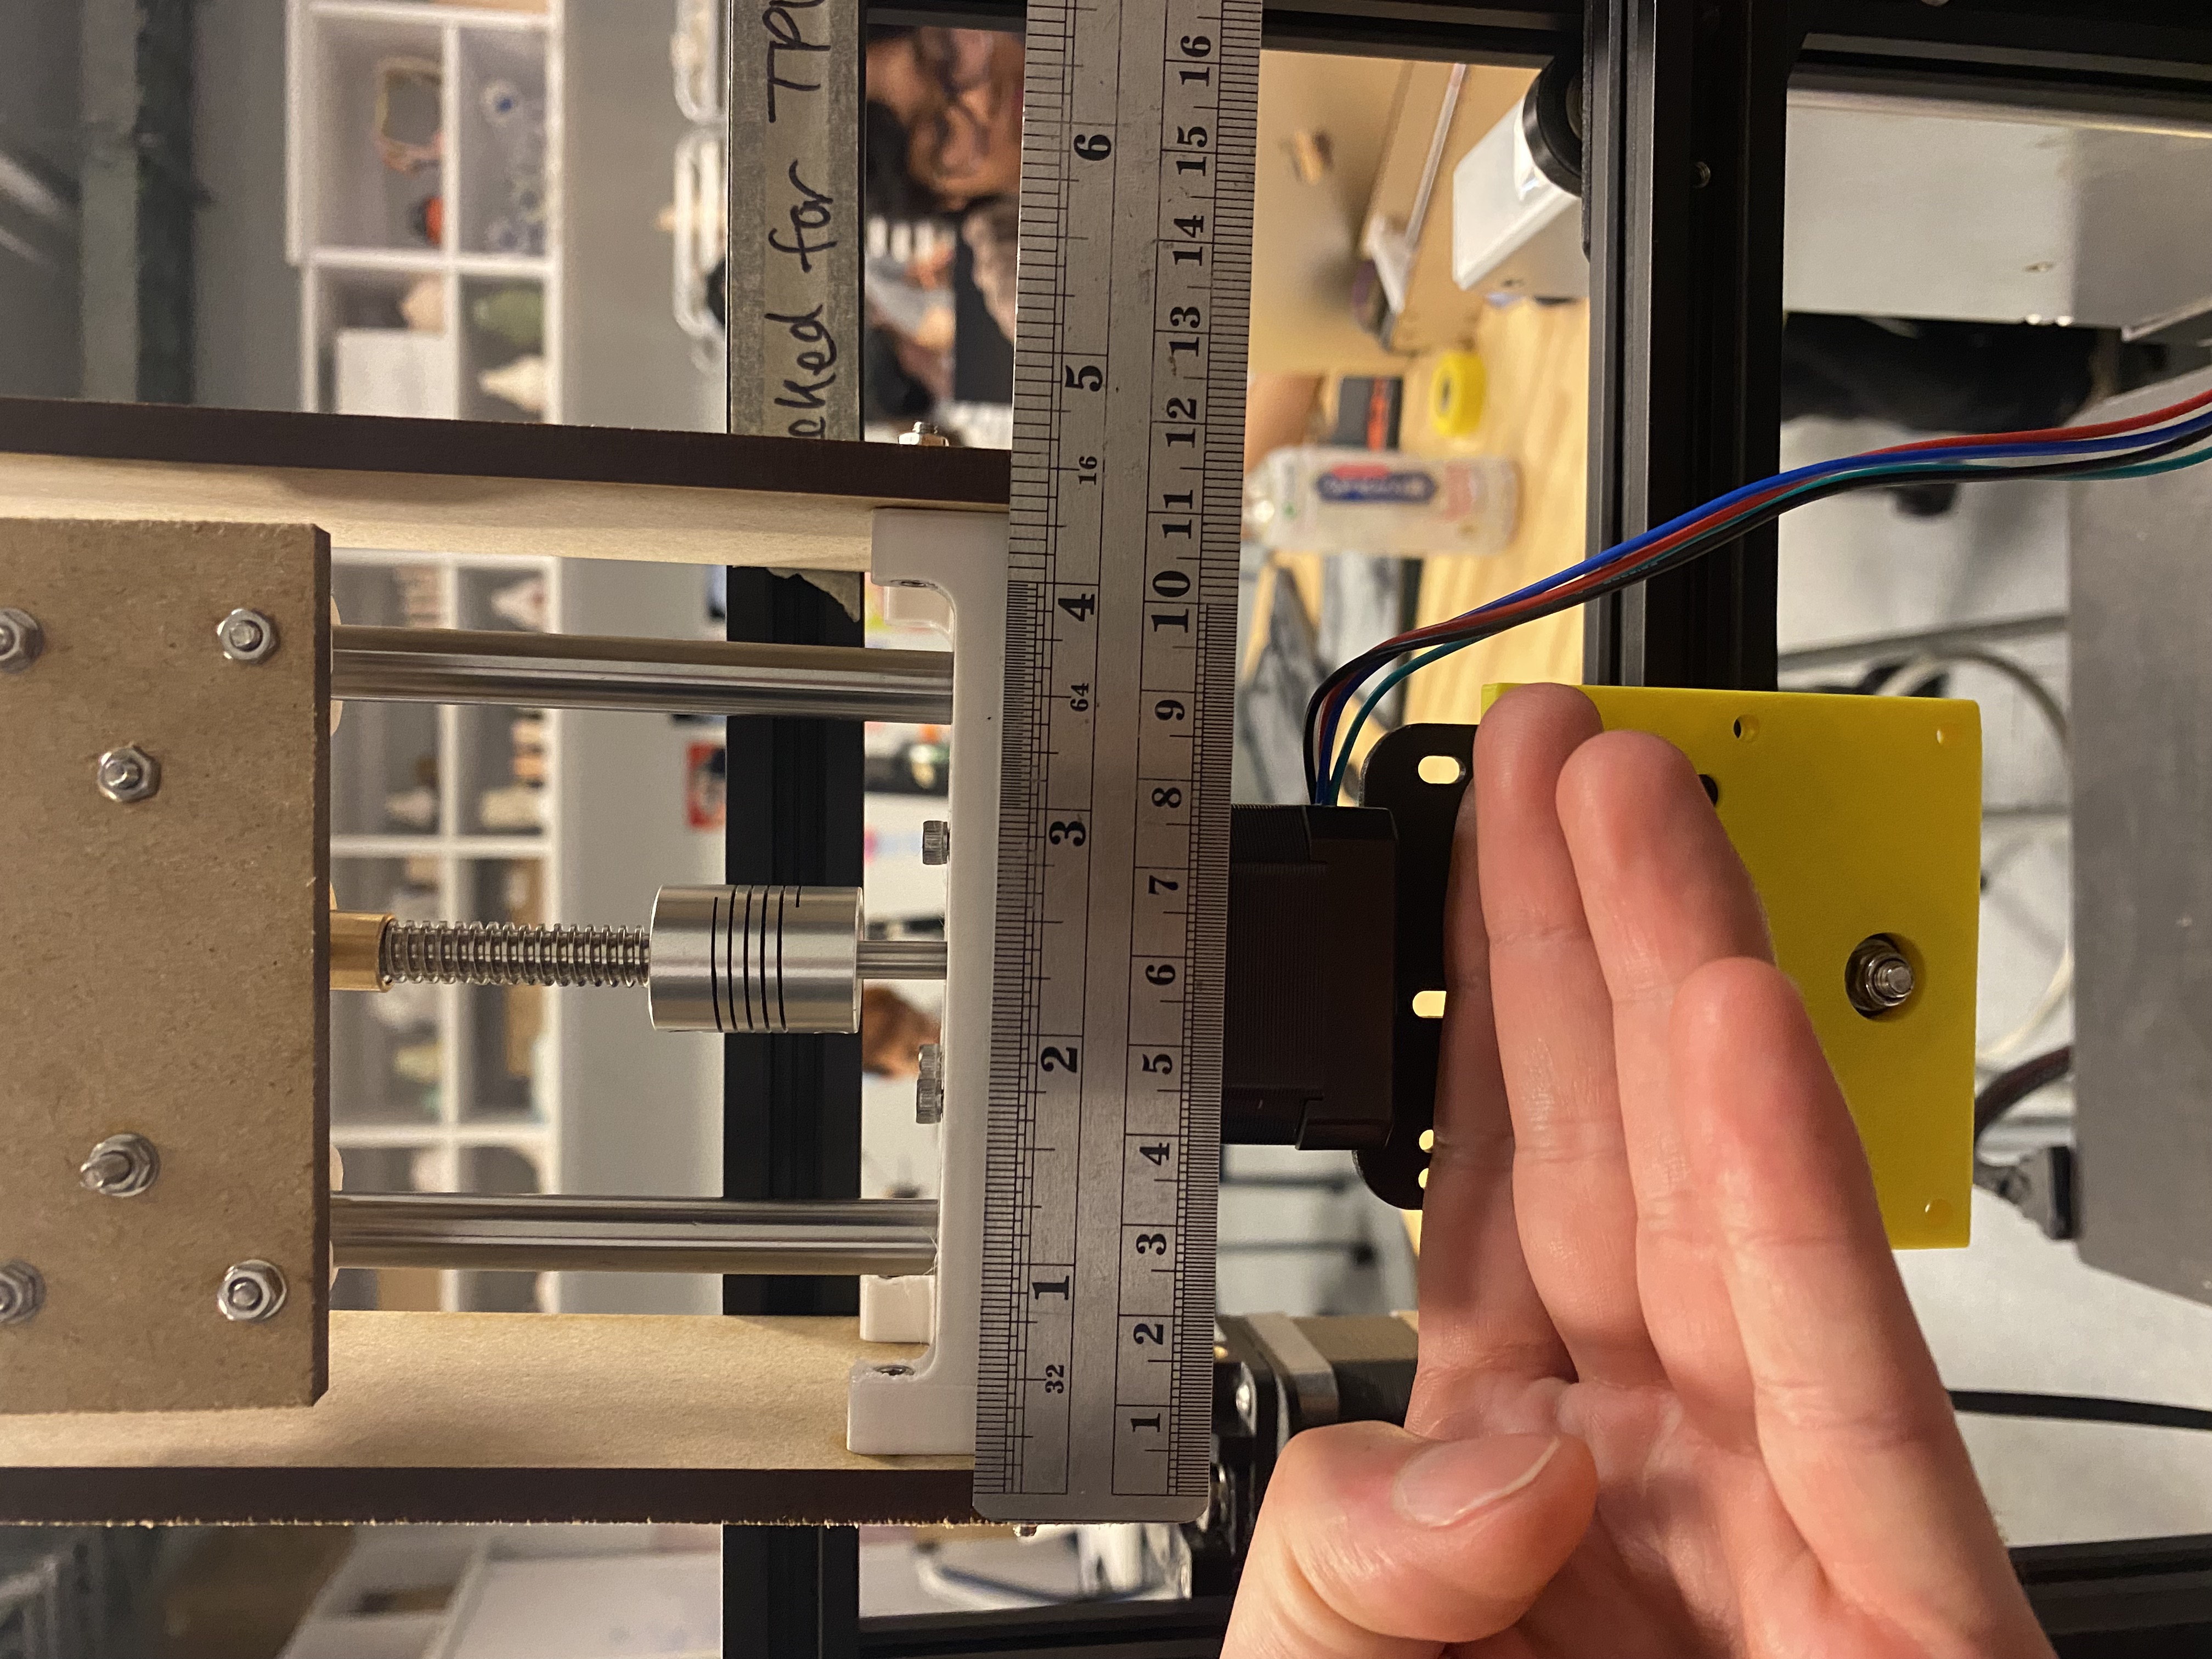
Milestone 3: Peer Review
We had the meeting with Team Fish. First they showed us their work and next steps, and then we presented ours. Our suggestions to them were related mostly with the UI and presets. Regarding our work, they told us that the joystick is a good idea because it is more intuitive to control the machine. They also suggested paying special attention to the syringe and the non-linear extrusion that it generates due to its mechanism. Finally, they recommended trying as soon as possible with frosting cake to observe the behaviour of the whole system — material, machine head, syringe, and control — all together.
Final Project: Edible Patterns — Piping Machine
System Overview
The Edible Patterns machine is a modified Ender 3 3D printer adapted for food extrusion. The extrusion head holds a syringe mounted beside a stepper motor, driven by a lead screw that pushes the syringe plunger down. The Teensy 4.1 microcontroller runs the Stepdance library and communicates with a browser-based control UI over USB serial at 115200 baud using a JSON RPC protocol.
The current firmware (try5.ino) exposes the following controls:
- Tip type selection —
set_tip_type(1/2/3)switches the Z-axis channel ratio and extrusion multiplier at runtime, letting the operator swap heads without reflashing. - Spiral pattern —
start_spiral(speed, radius)uses polar-to-Cartesian kinematics to generate an inward spiral from a given radius.stop_spiral()halts the pattern; the timed Z lift-and-retract sequence runs in the HTML layer to avoid generator override conflicts. - Manual jogging —
set_speed_x/y/z/edrives individual axes by velocity, used for positioning and manual piping points. - Path-length extrusion — a
PathLengthGenerator2Dties extrusion rate to XY travel distance automatically.
The control UI (Piping Control.html) runs fully in the browser via the Web Serial API — no server required. It handles tip selection, spiral parameters, keyboard and gamepad jog control, and the timed stop sequence.
Iterations
Mechanical prototyping with Alejandro and Emily Emily and Alejandro were key to ensuring the system worked well. Emily helped us adapt the Ender 3 wiring and figure out which axes needed encoders (conclusion: Z and E do not). Alejandro proposed and iterated the motor mount designs, moving through two rounds of 3D printing until the holder was rigid enough to support the lead screw assembly under load. We evaluated his two bracket proposals and selected the one with the motor mounted on top of the metal plate.
CAD ↔ cardboard back-and-forth Before committing to 3D printed parts we went through a physical prototyping phase with cardboard mockups of the syringe holder geometry. This back-and-forth between Fusion 360 and cardboard let us resolve fit issues cheaply before printing.
Pencil test for spiral behaviour Before using any food material we clamped a pencil in place of the syringe to trace spirals on paper. This let us tune the speed, radius, and Z-lift parameters without wasting material or making a mess.
Spiral kinematics with Jennifer
Jennifer introduced us to the KinematicsPolarToCartesian approach in Stepdance. This replaced an earlier circle generator and gave us true inward-spiral motion by combining a constant angular velocity generator with a decaying radius position generator.
UI with Claude Code The final control interface was built iteratively using Claude Code (Claude Sonnet 4.6). We started from a rough layout sketch and went through multiple rounds of design review — restructuring the step flow, merging the preview into the parameters panel, wiring the gamepad correctly, and stripping dead code — until the UI matched the physical workflow.
Tip Types
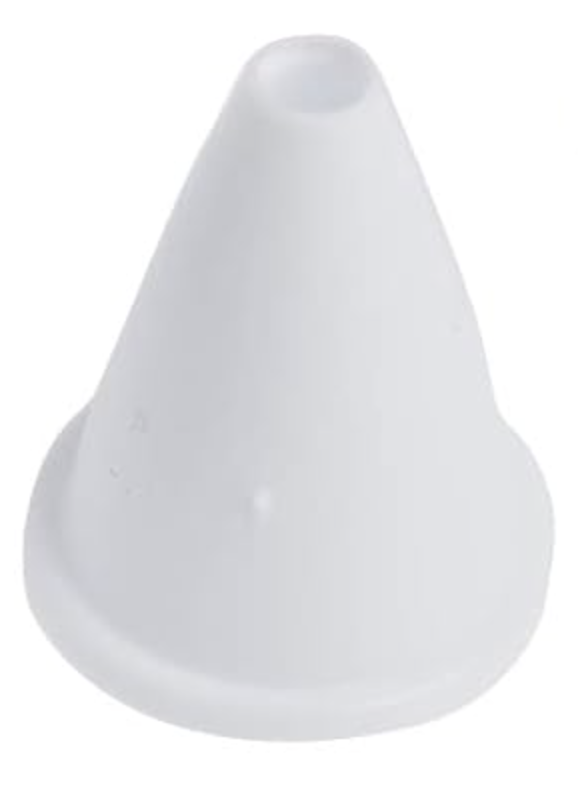
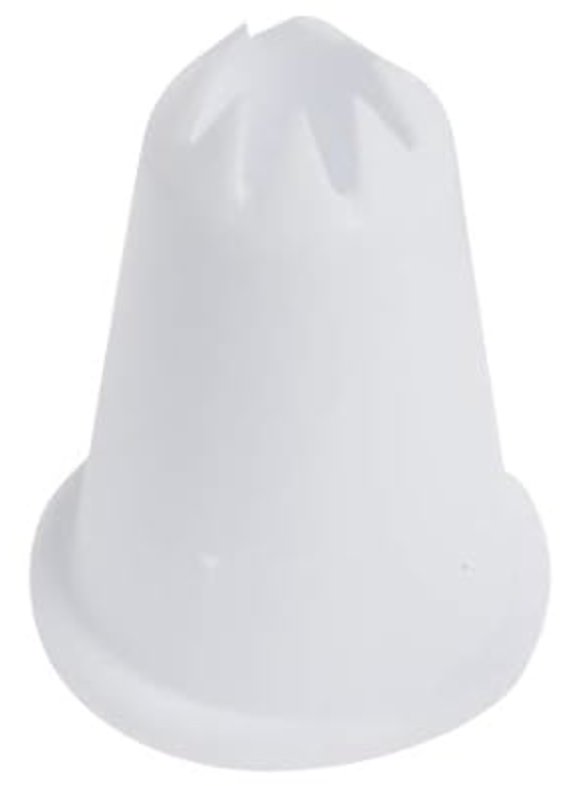
The machine supports three interchangeable piping tips. Selecting a tip in the UI sends set_tip_type over serial, which updates both the Z stepper gear ratio and the extrusion multiplier in real time.
| Tip | Z ratio | Extrusion multiplier |
|---|---|---|
| Regular | 1 : 200 | 0.48 |
| Big Star | 1 : 600 | 0.98 |
| Small Star | 1 : 400 | 0.78 |
Control Interface
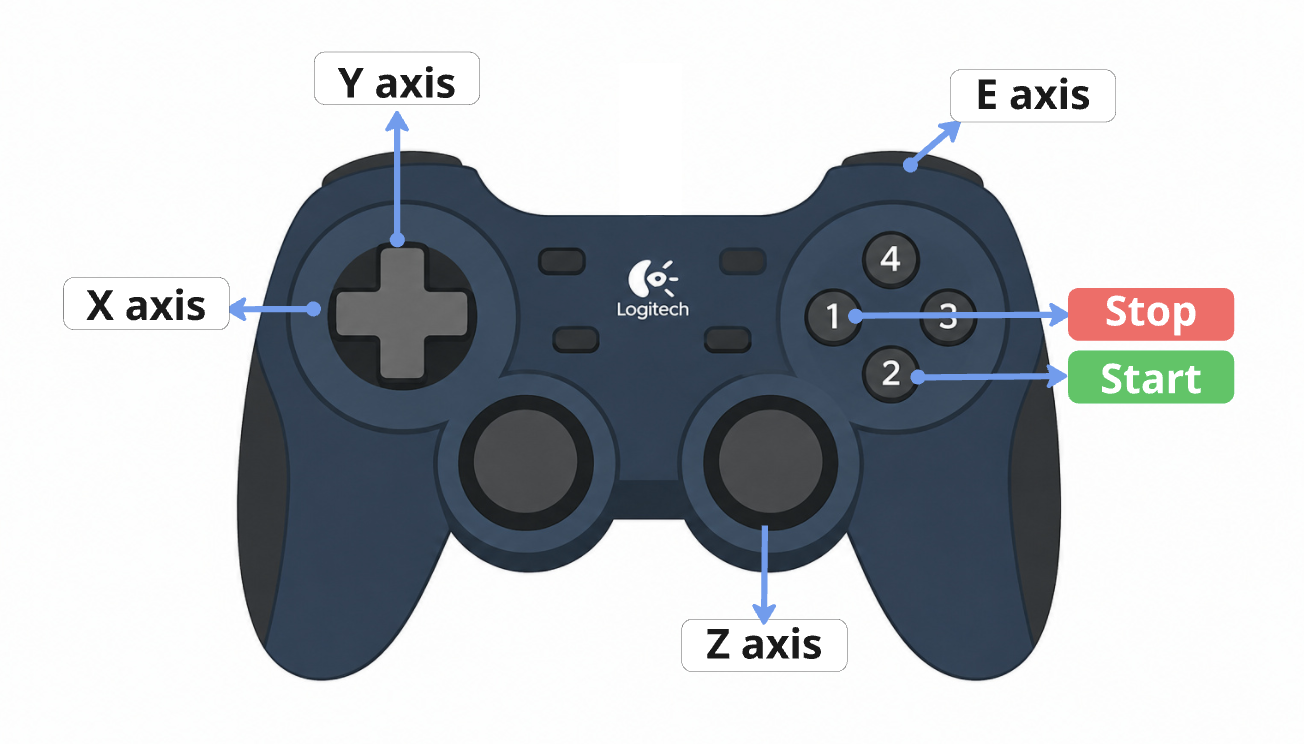
The UI is a single HTML file with no dependencies beyond Web Serial. The operator follows five numbered steps: connect, pick a tip, set spiral parameters, run/jog via keyboard or gamepad, and access advanced motor controls.
Artifacts and Presentation

Relevance, Usability, and Responsiveness
Relevance
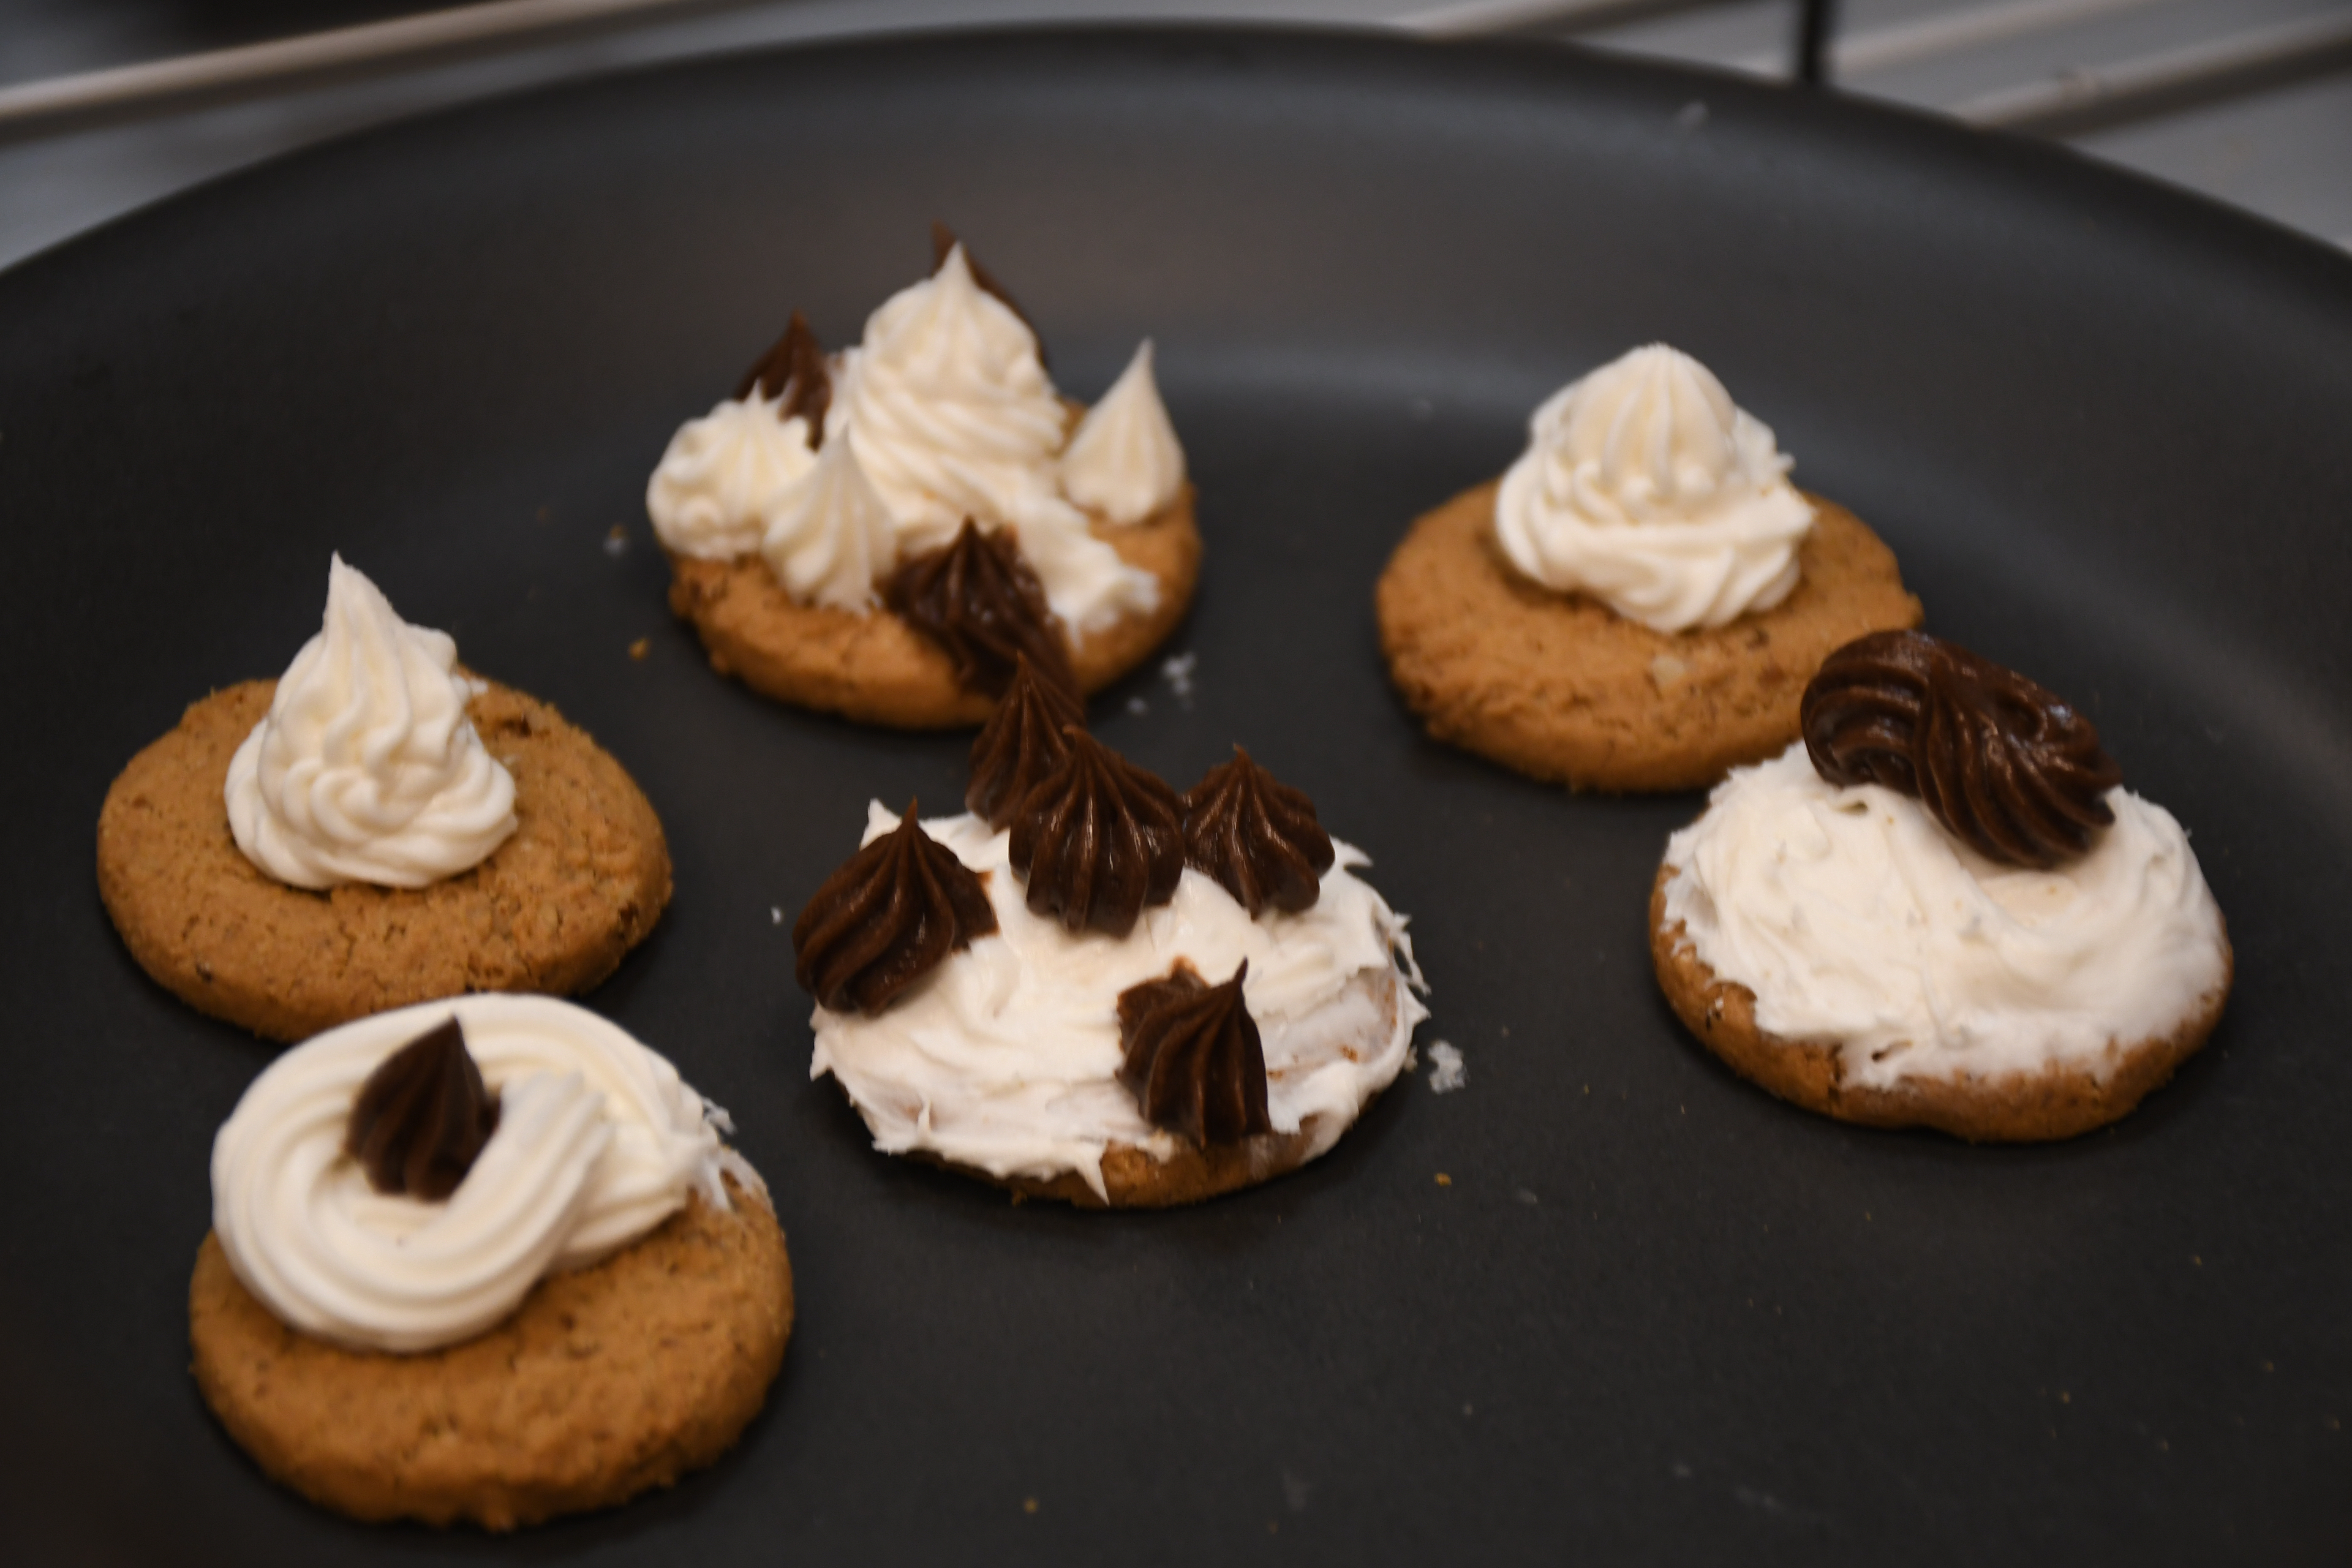
Cake decorating is a skilled craft where precision, repeatability, and speed matter. Professional pipers spend years developing muscle memory for consistent spiral patterns, rosettes, and dot work. Our machine attempts to cake piping accessible and explore the ways a machine controlled system would create cake decorations. An operator can dial in a spiral size, select the right tip, and run repeatable decorations without manual piping skill. The output is immediately meaningful: it produces real edible decorations on real food, closing the loop between the machine and its creative purpose.
Usability
The interface is designed around the physical workflow rather than the machine’s internal architecture. The operator does not need to know about stepper ratios or RPC calls — they pick a tip from a picture, set a radius on a slider with a live preview, and press Run. The keyboard jog controls map to spatial intuition (arrows = XY, W/S = Z up/down), and the gamepad mapping mirrors the same layout for operators who prefer physical controllers. Both input methods do exactly the same thing, giving users a familiar entry point regardless of their background. The system builds on skills that bakers already have — understanding tip shapes and approximate sizes — while the machine handles the precision.
Responsiveness
The spiral speed slider sends set_spiral_speed live while a print is running, so the operator can slow down at corners or speed up on straight sections without stopping. The joystick axes respond with minimal latency (50 ms polling loop) so manual point work feels direct. The timed stop sequence — Z retract, pause, Z lift — runs automatically on Stop so the operator does not need to manually manage the nozzle position between prints.
Project Development - Final
Continuing with our ideas on project 1, we decided to continue development of a extrusion device for cake piping. The ECL team devised a carriage, driven by a lead screw as the primary means of extrusion.
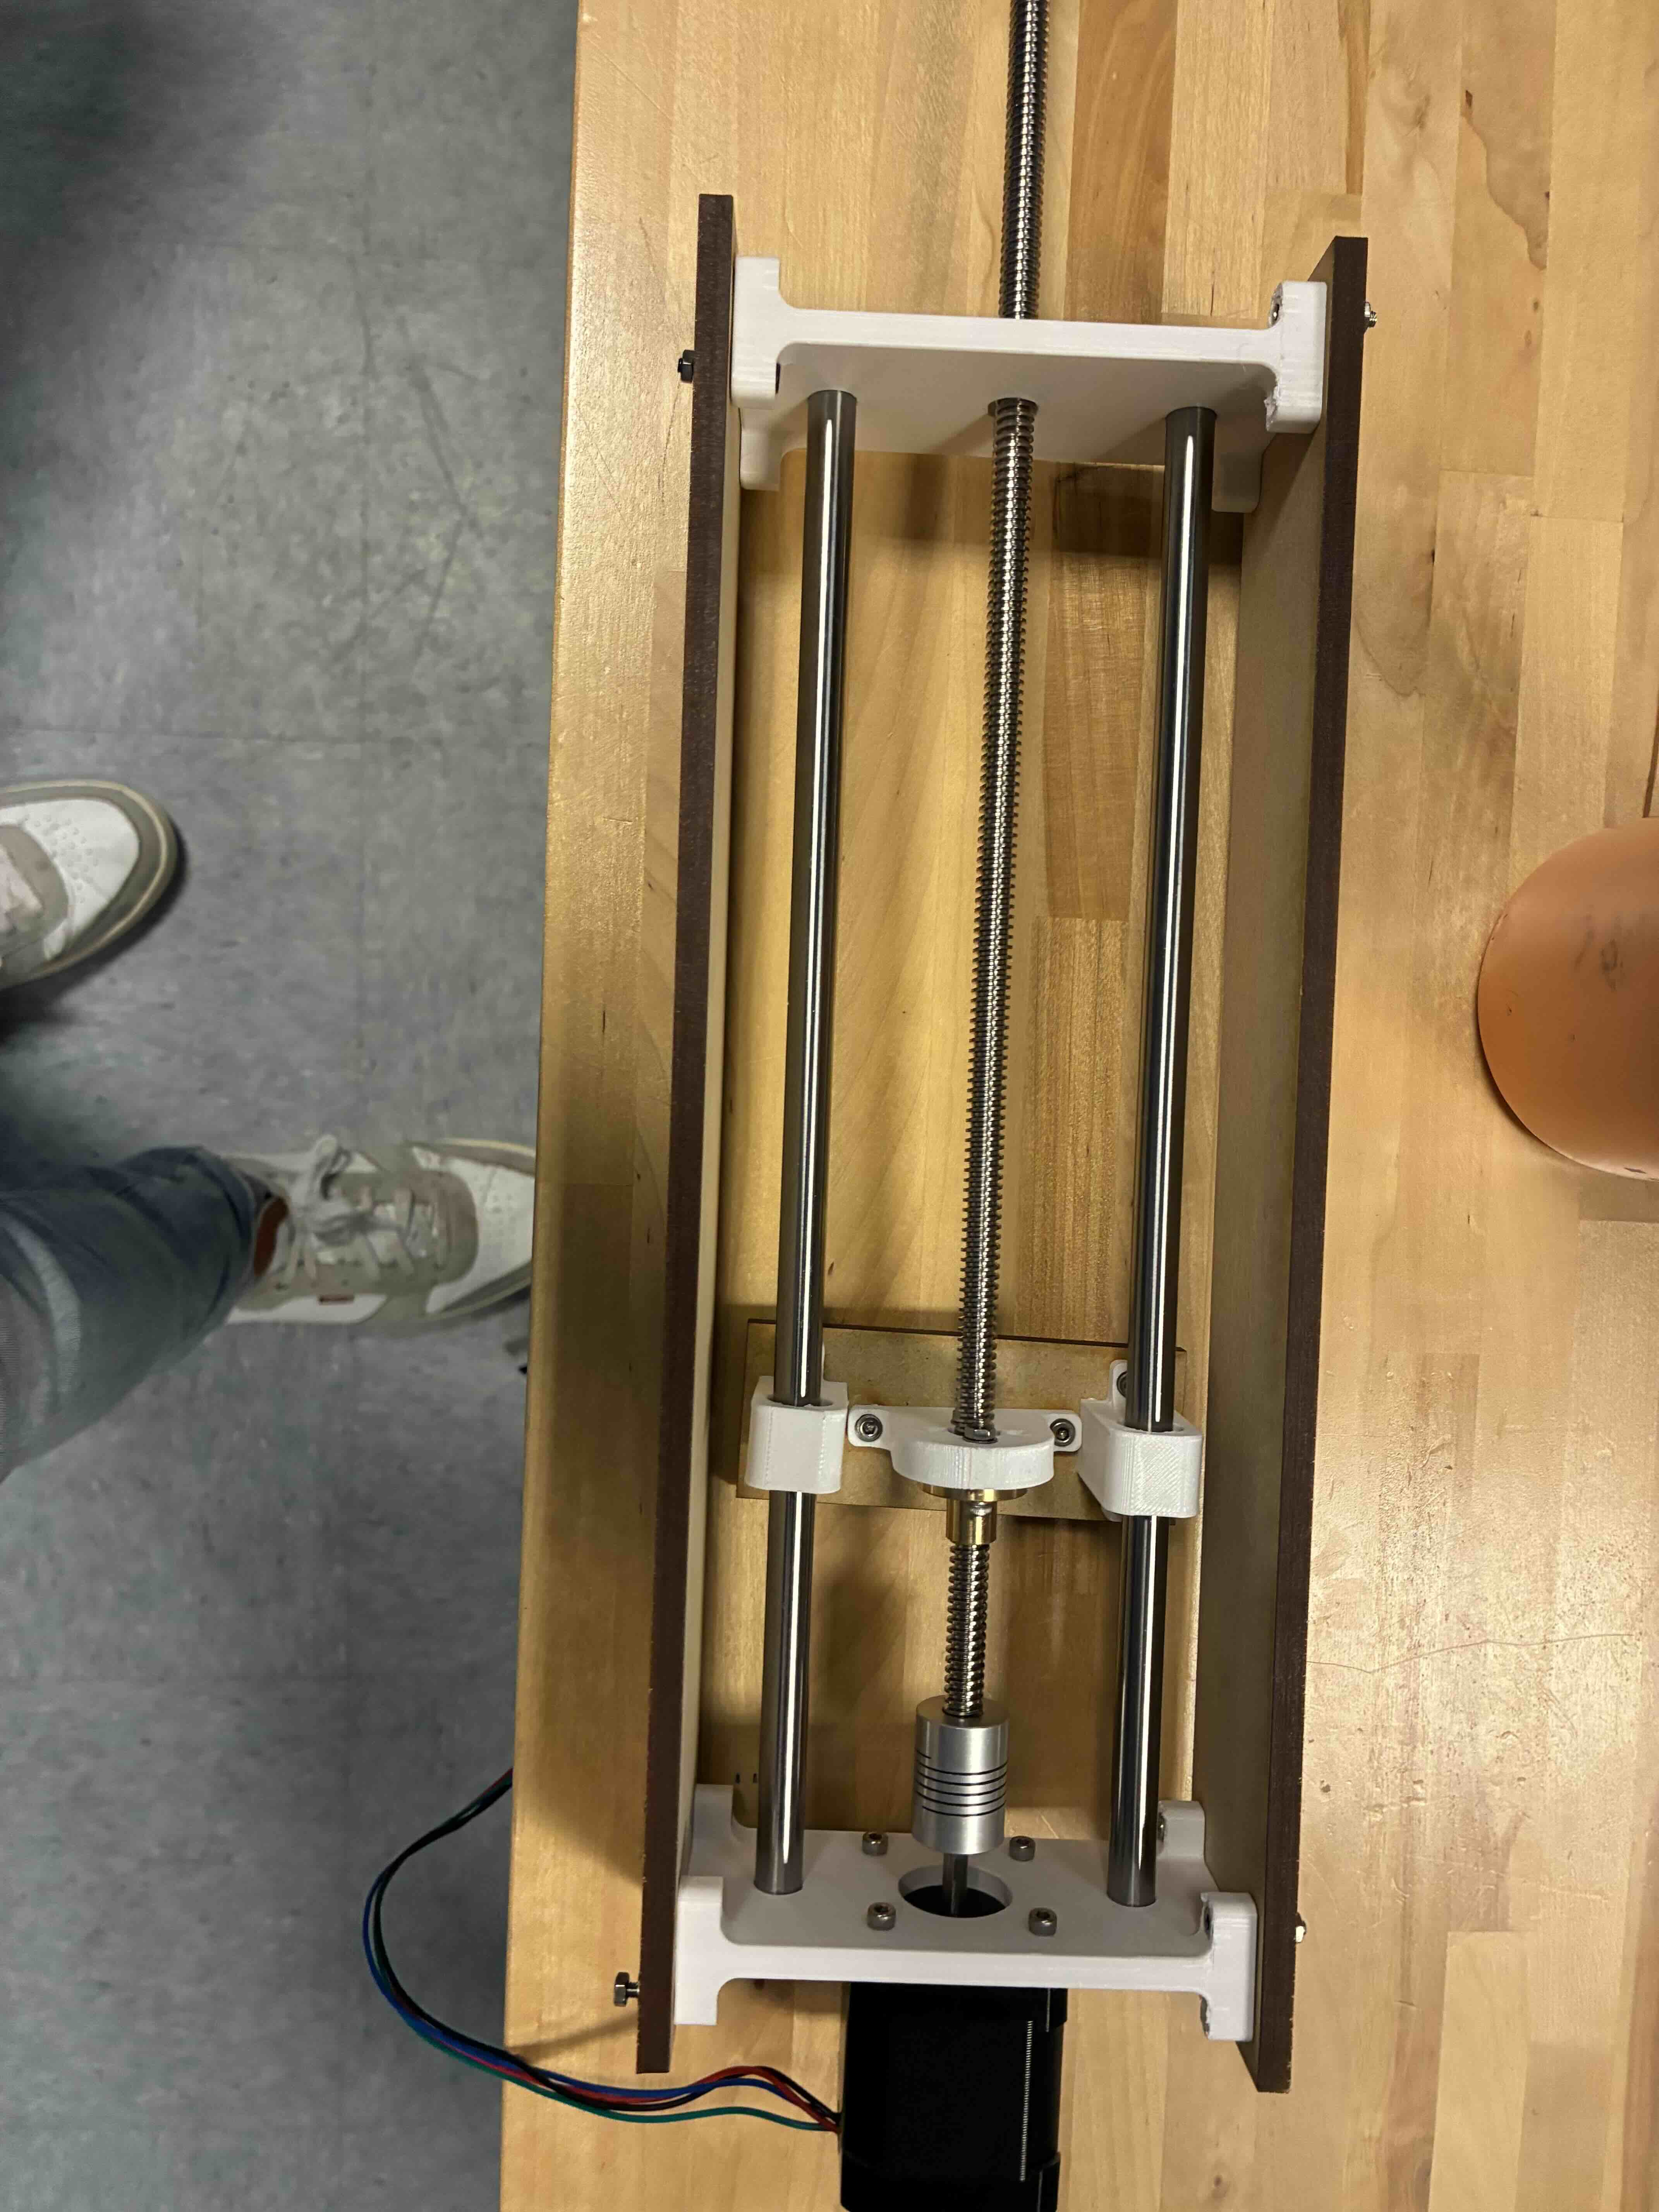
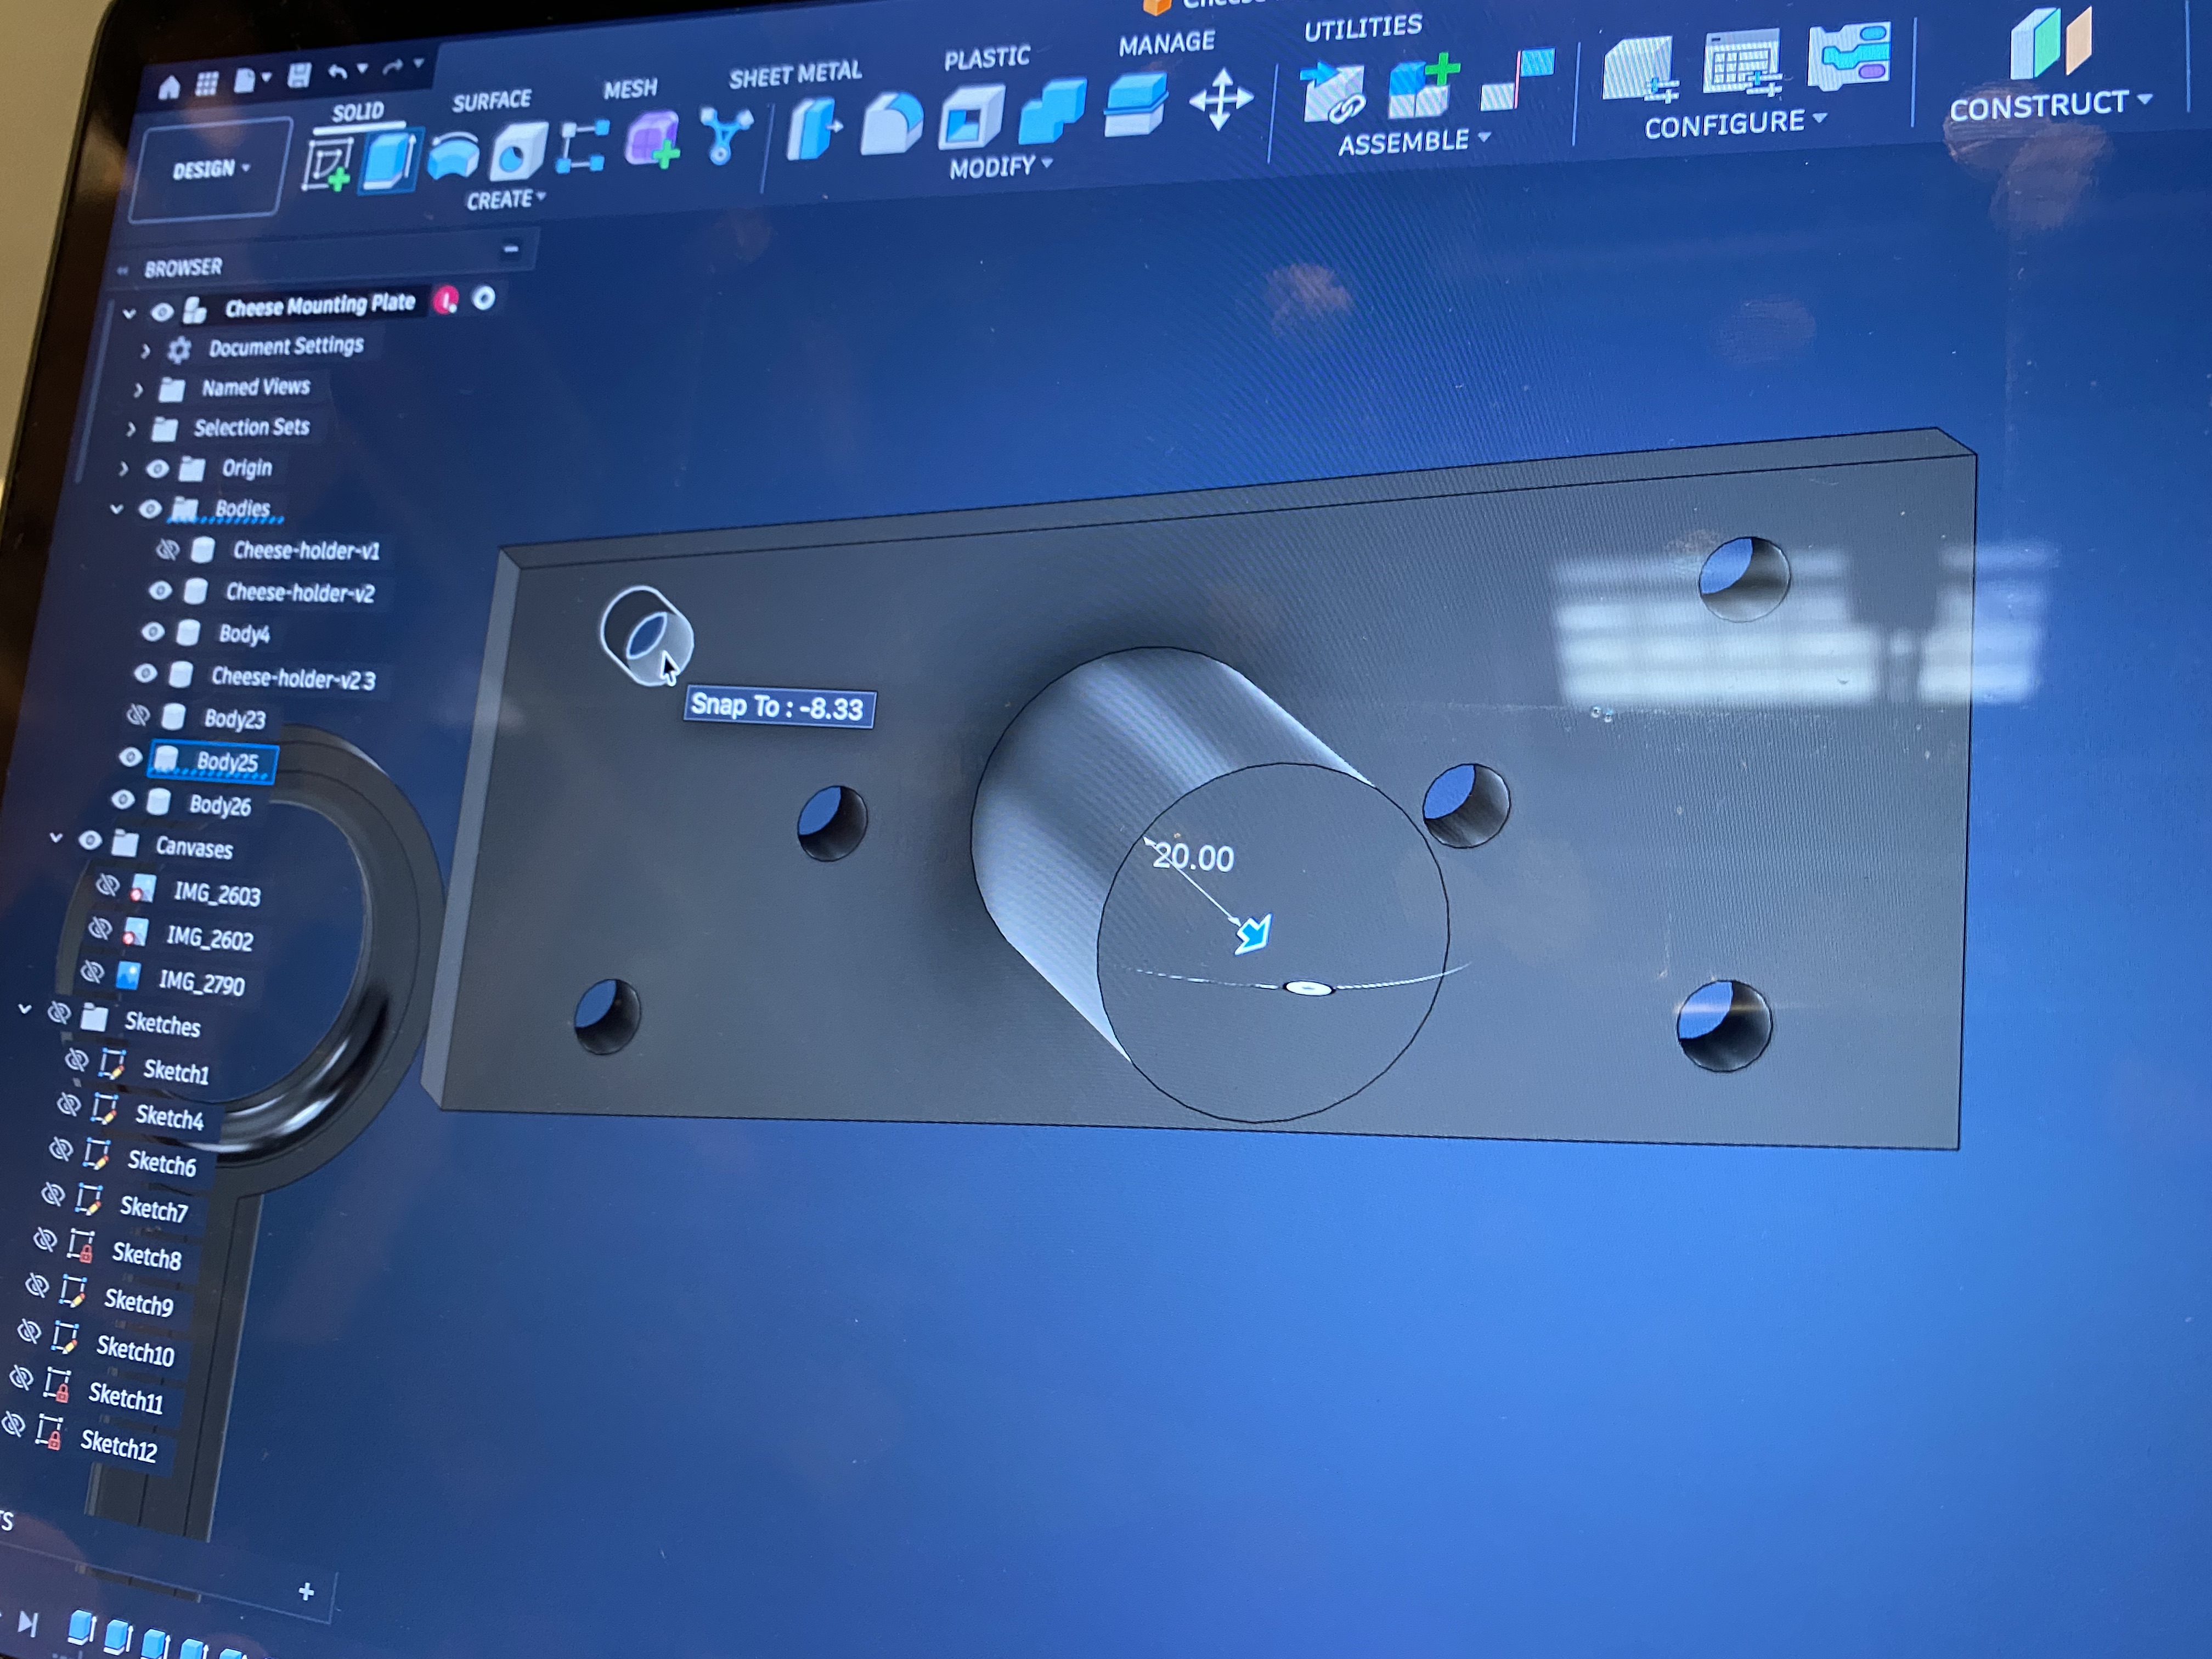
Using the ECL team’s initial design, we then focused on the development of a mounting plate to hold a syringe. We modeled the syringes inside of Fusion to approximate the size in order to start building a mounting plate (cheese plate) to hold the syringe.
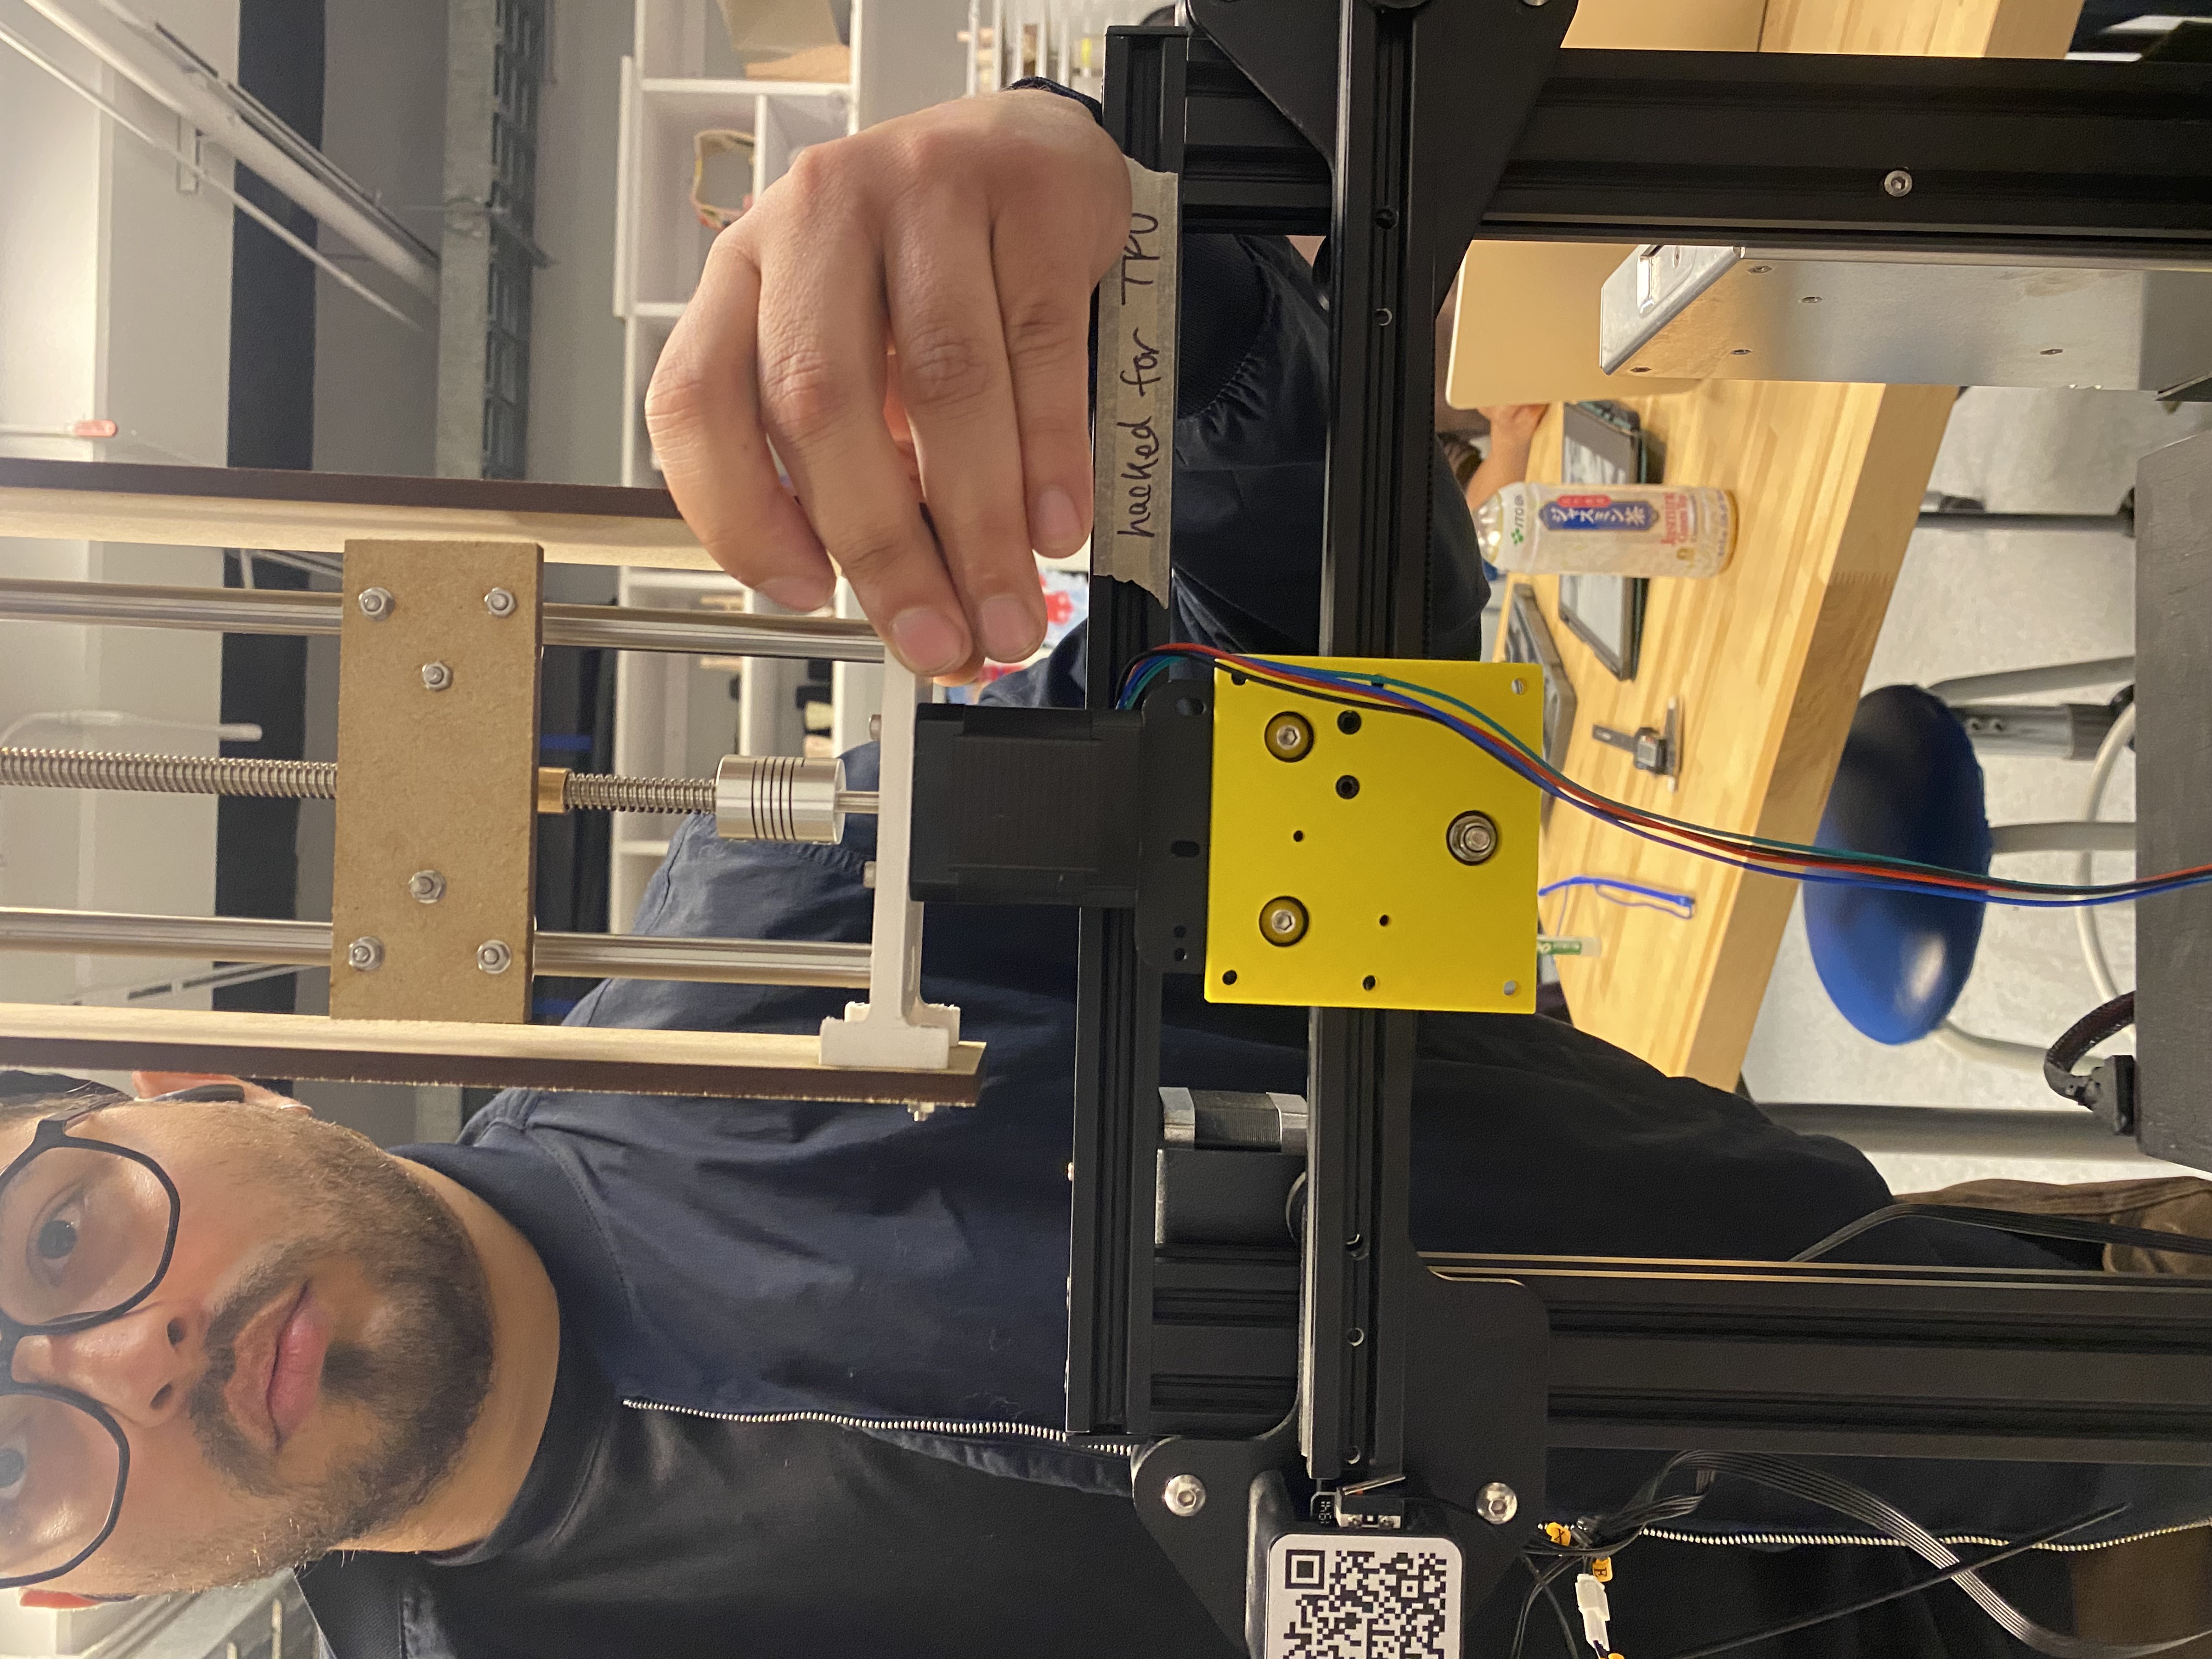
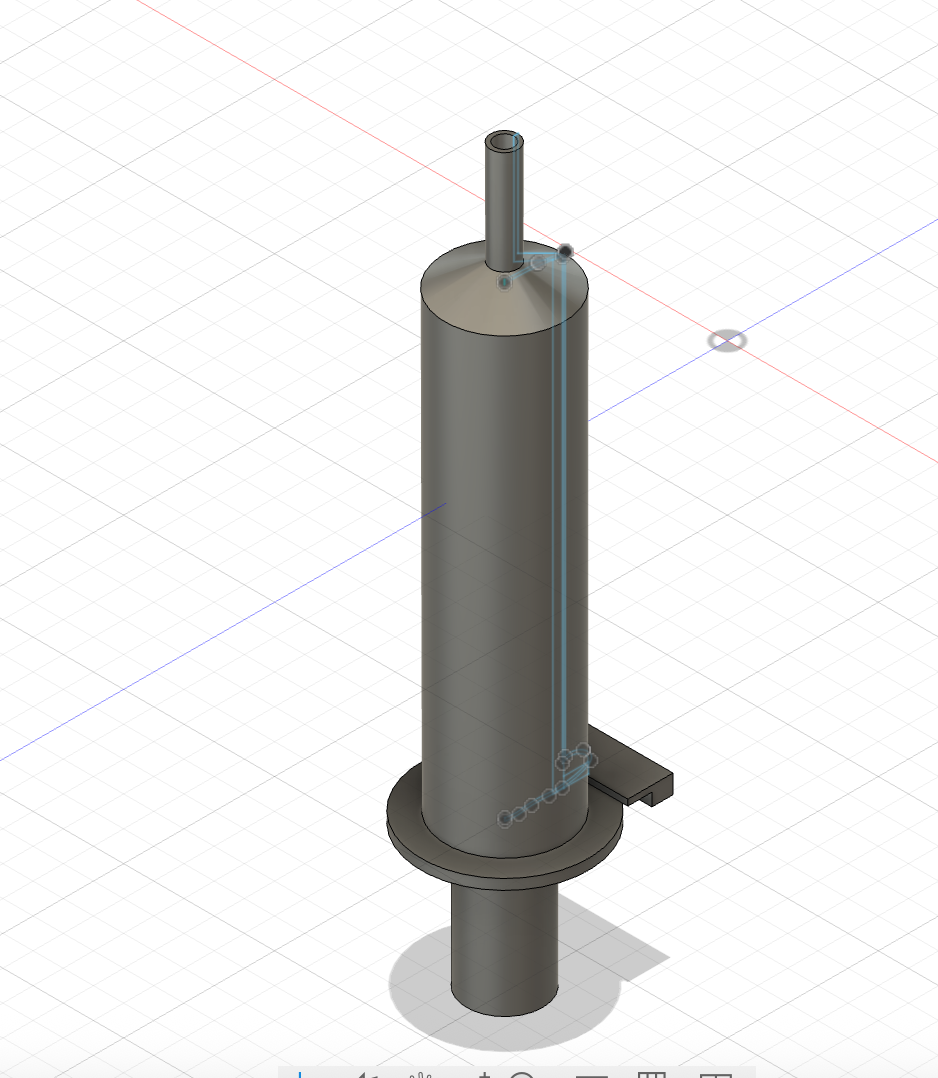
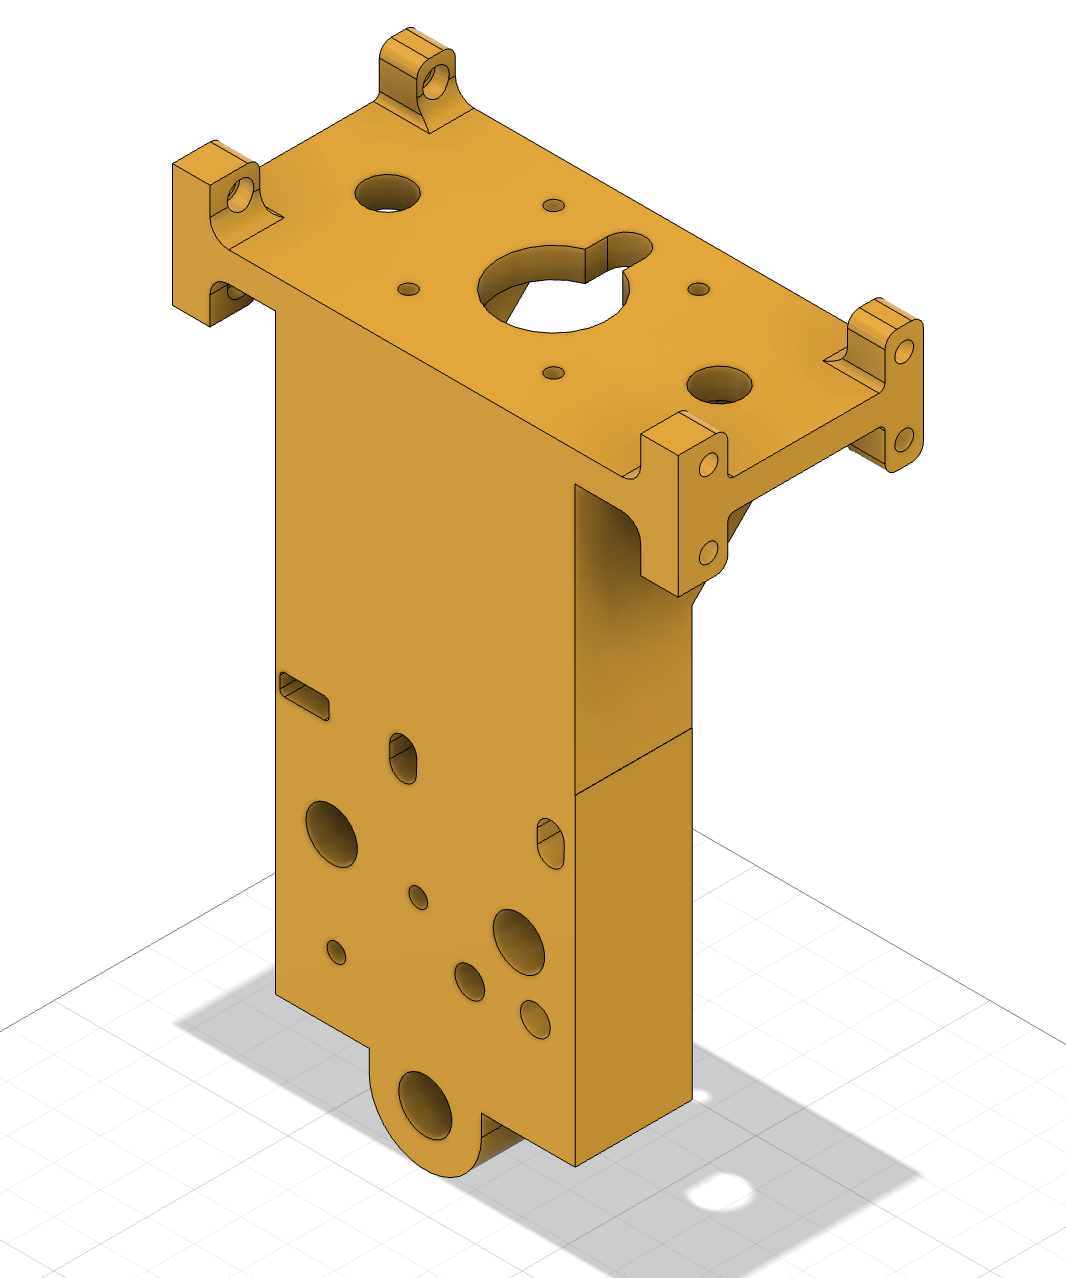
Initially we used the “cheese plate” that Team Fish used as a mounting plate for the Ender printer. While this provided a rough prototype, our Ender plate was larger. That said, we 3D printed a syringe holder, which provided important insights into the spatial and stability challenges of fixing the syringe and motor.
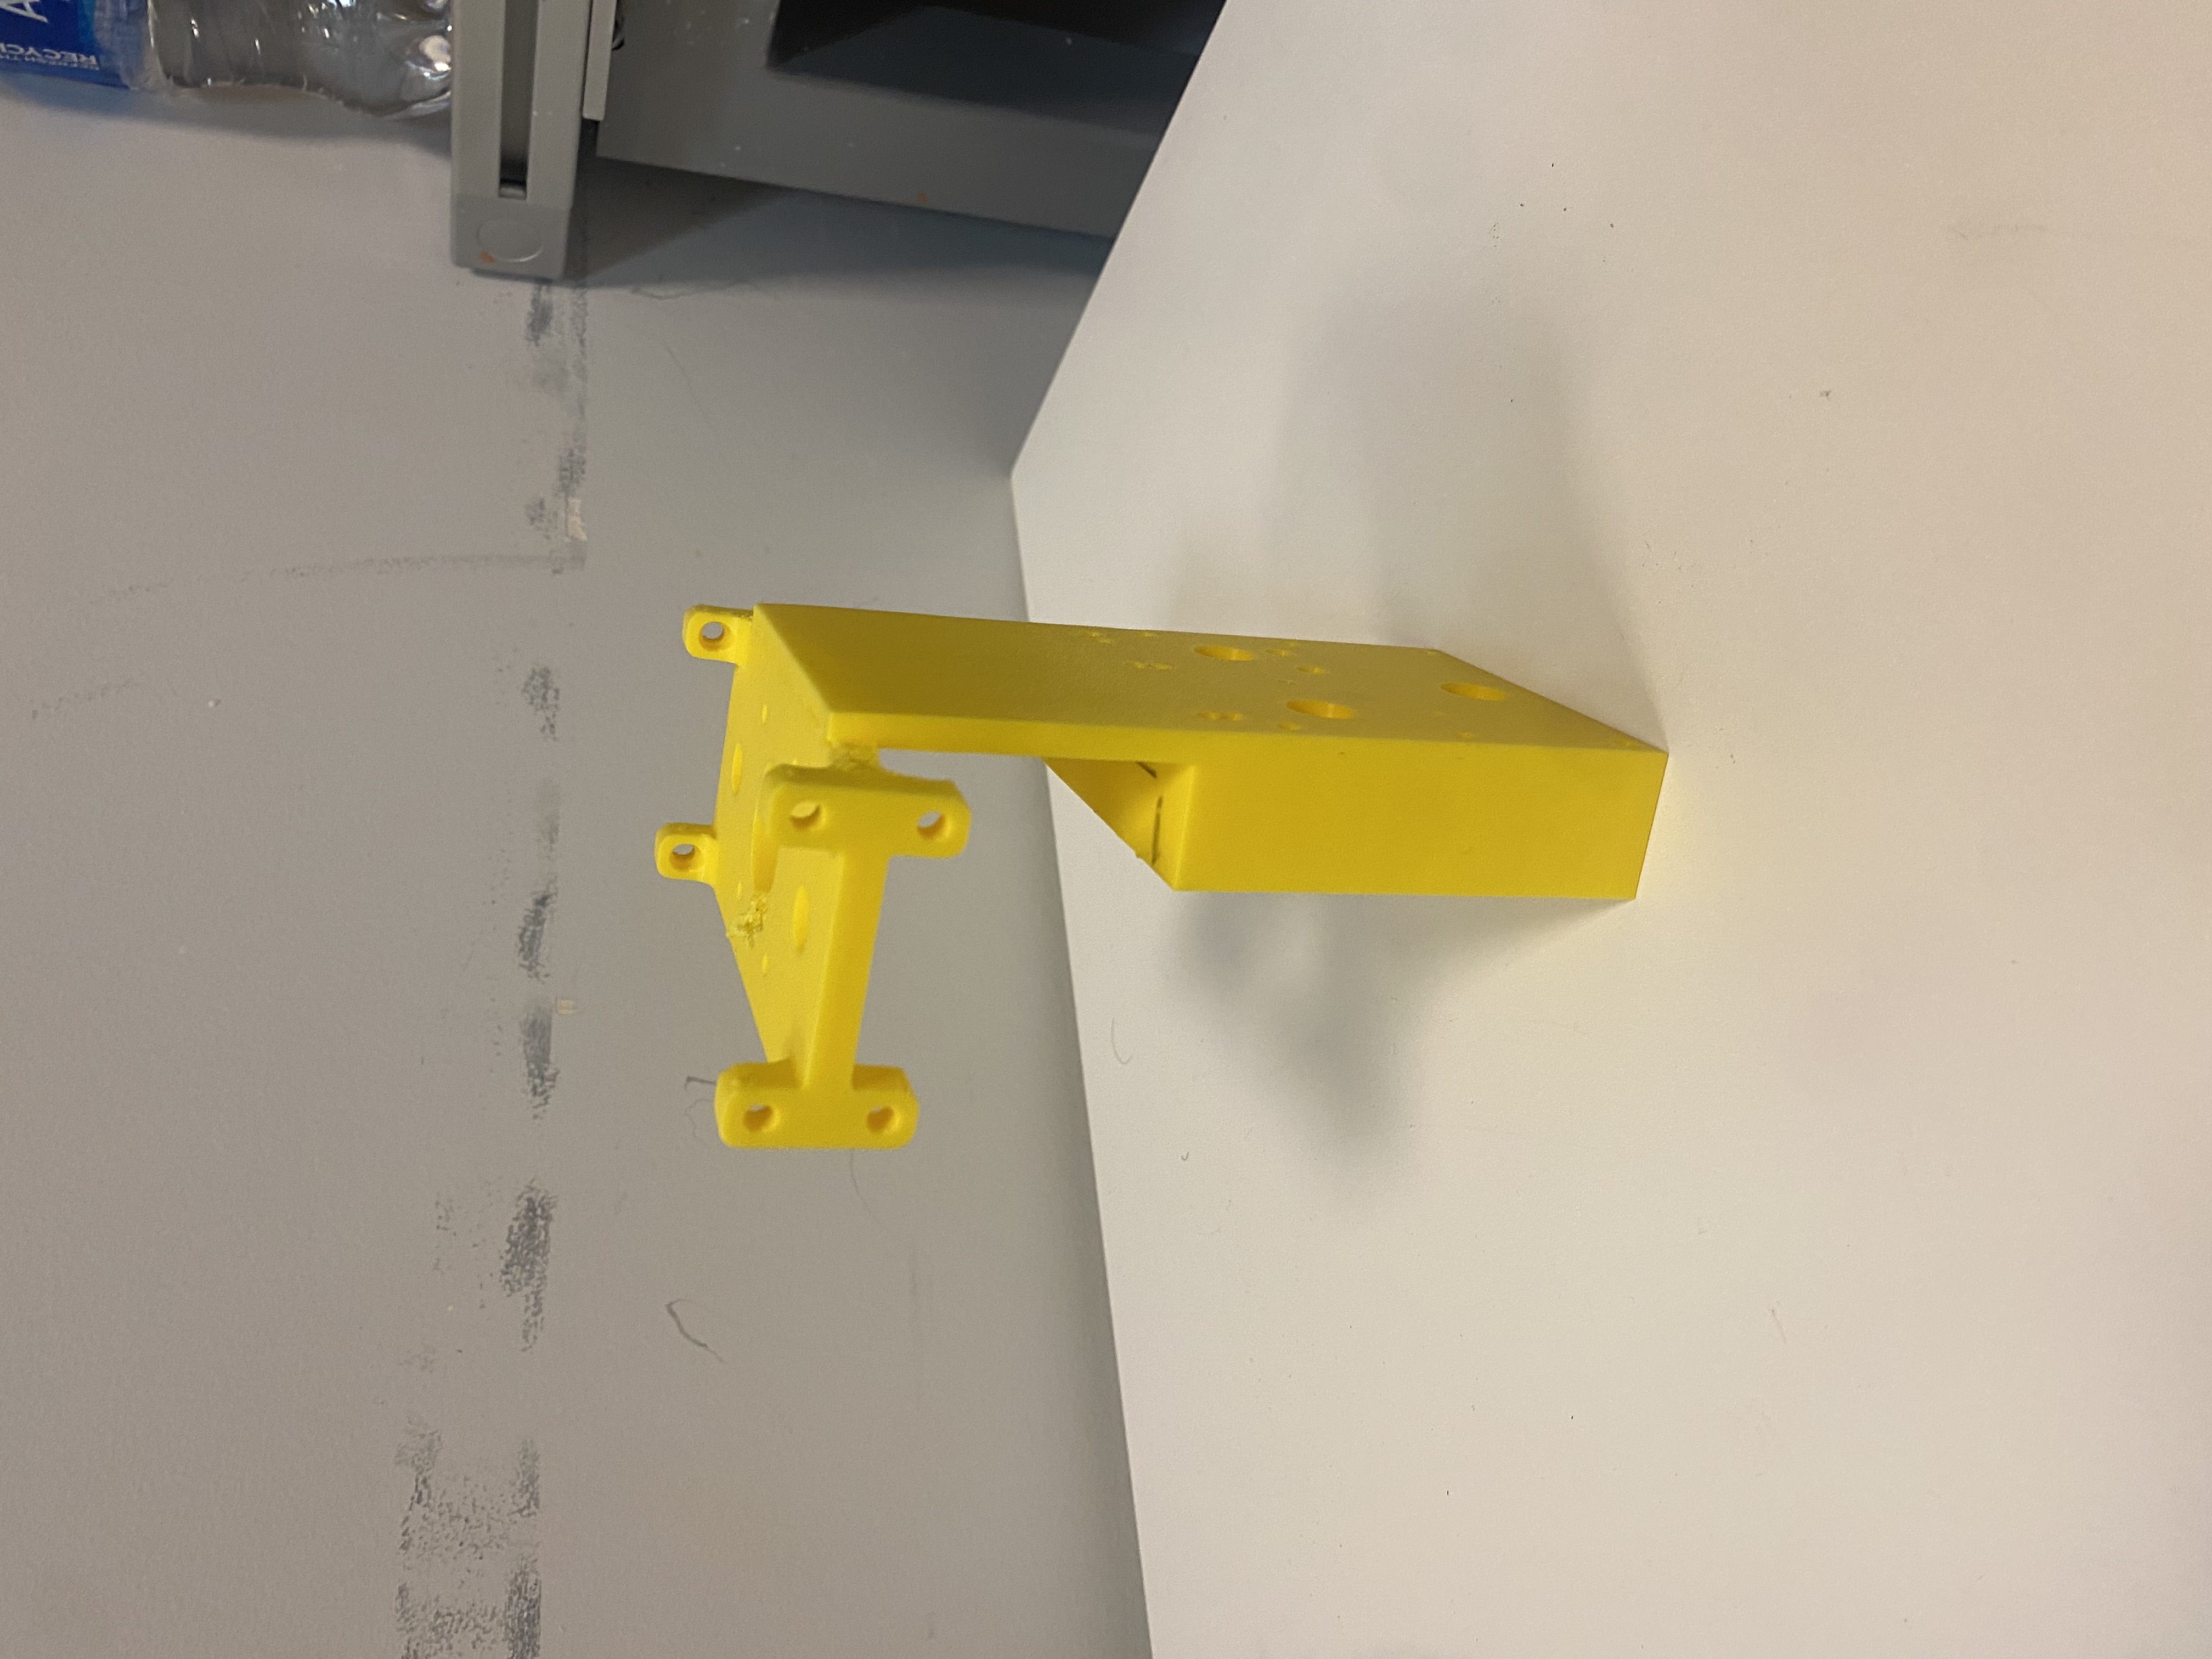
We quickly realized we need more space for the stepper to actually fit within the cavity as well as increasing its length for mounting the syringe.
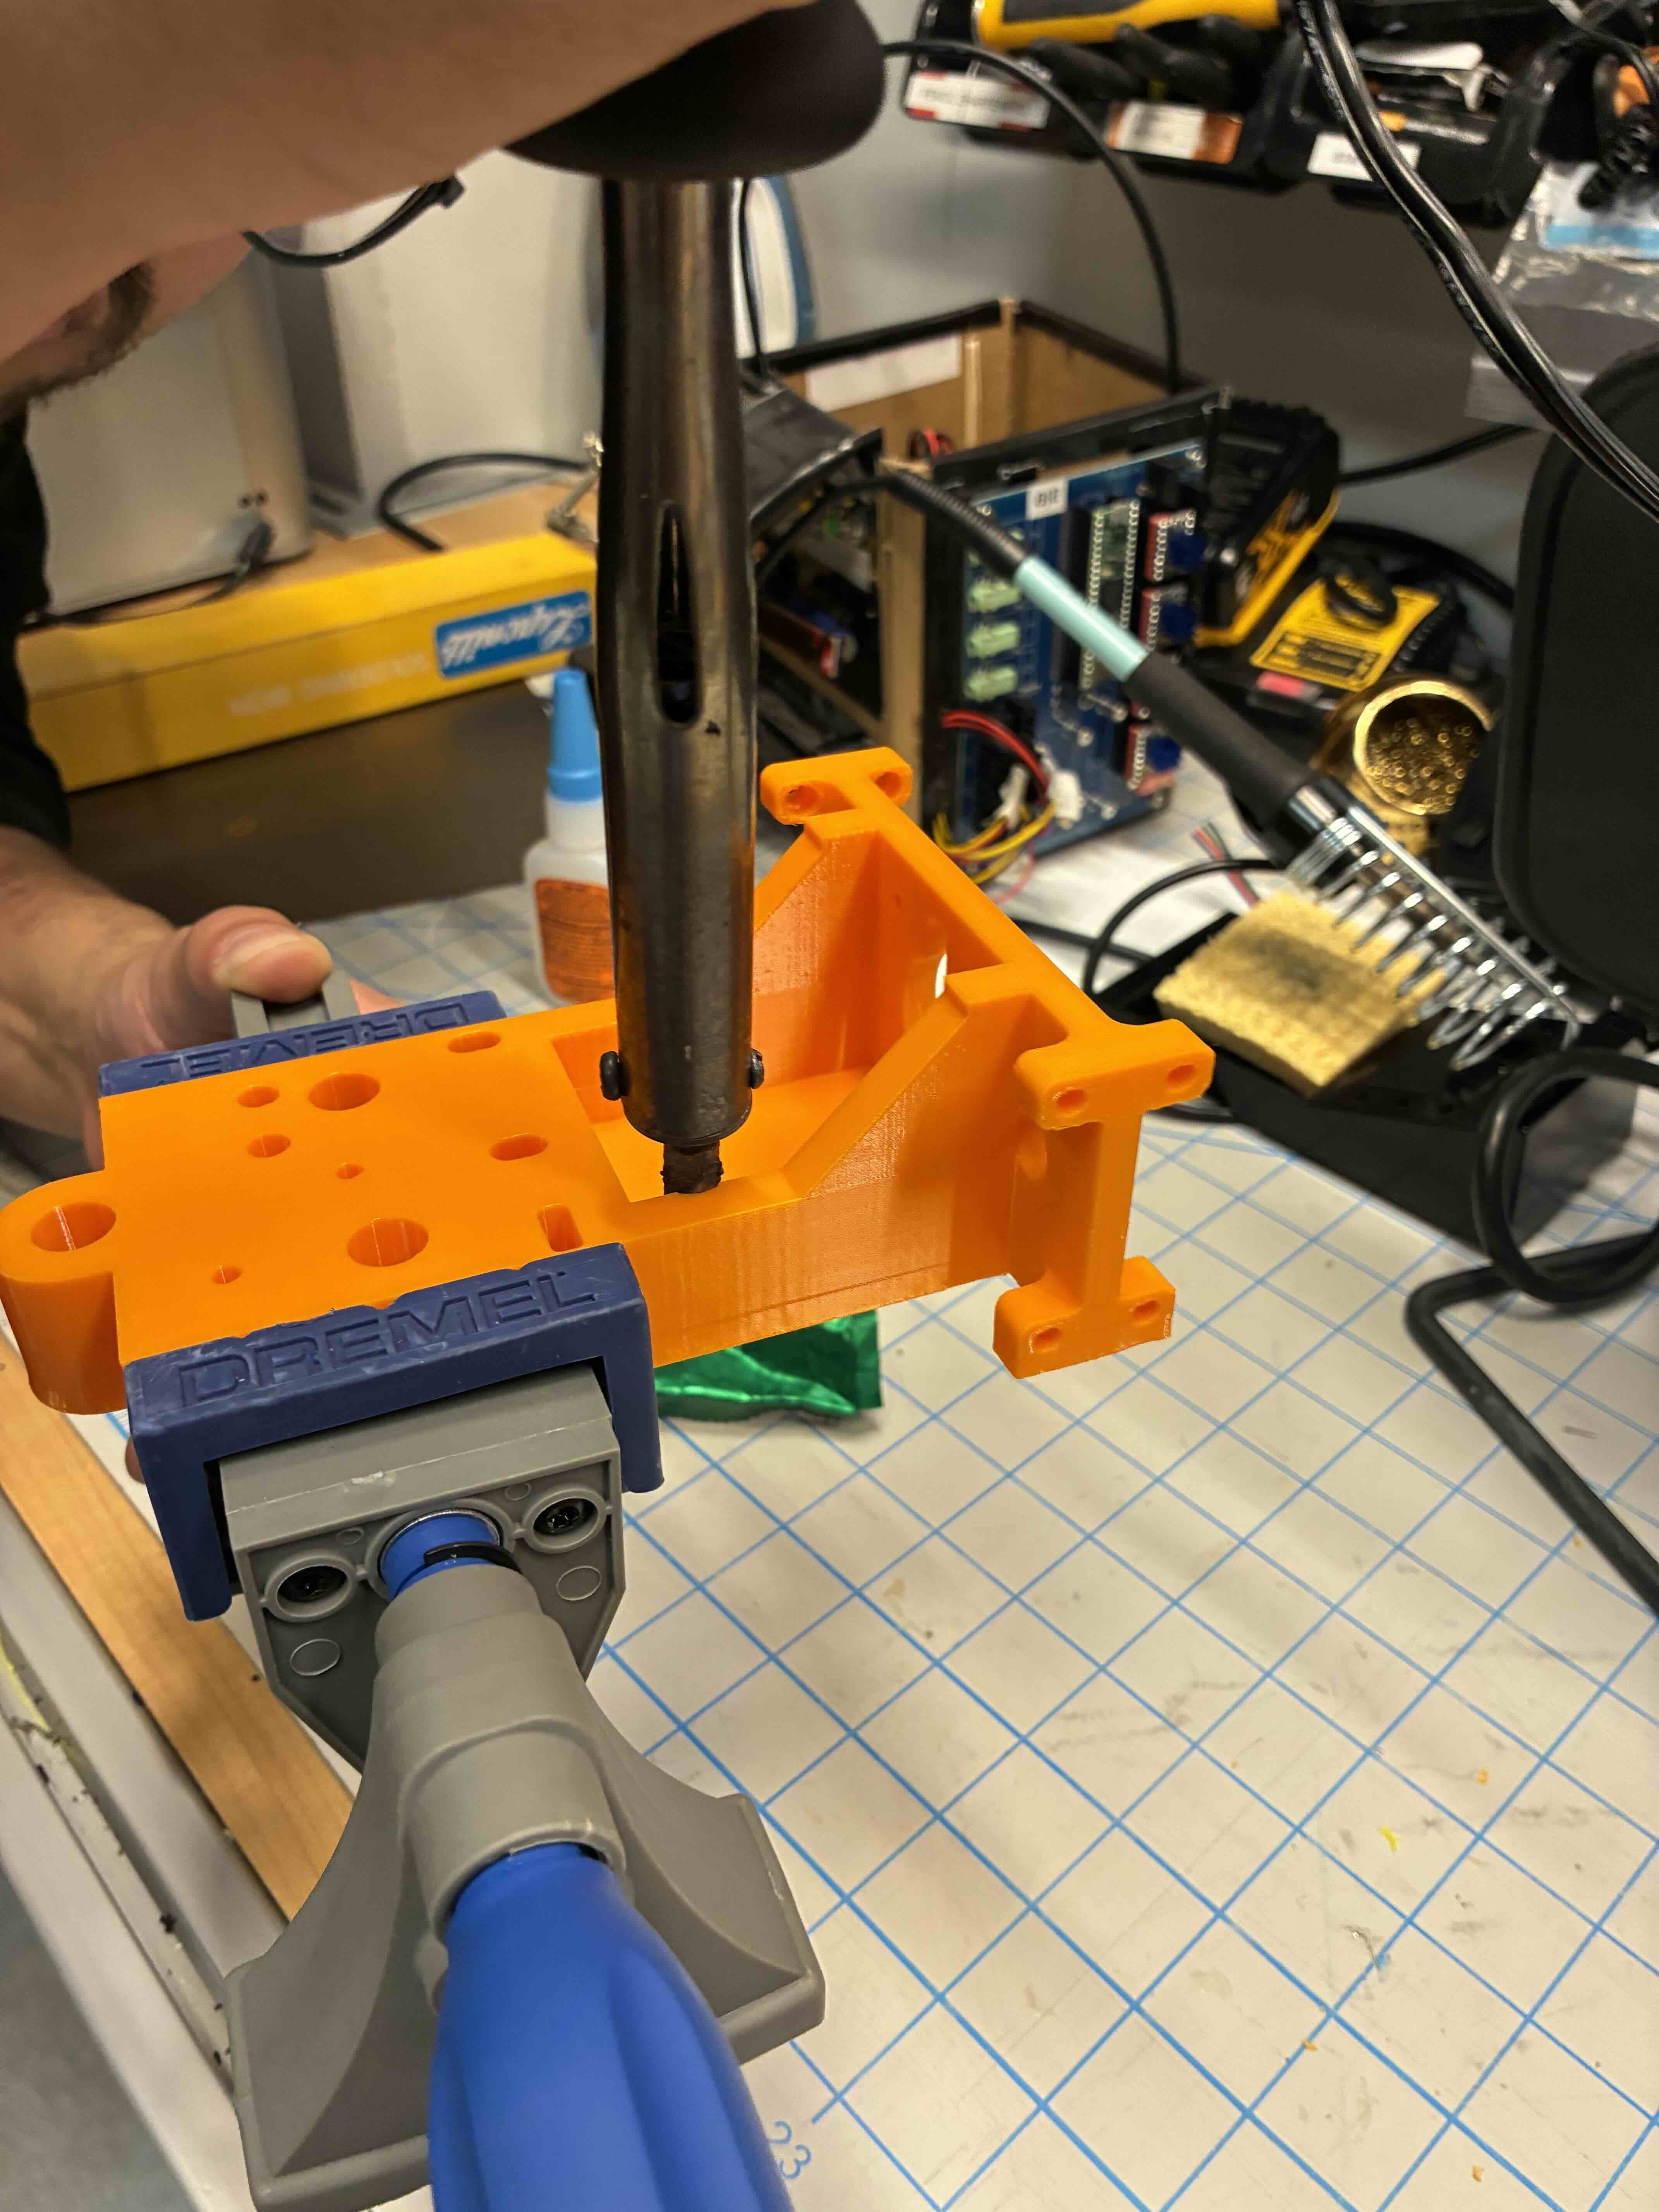
Additionally, we need to reinforce the top mounting plate for the stepper motor. After this we were able to actually mount the motor, by melting elongated holes through the model and fix metal tightening scraps.
Once we recieved the two syringes, we decided to measure the plungers design and print two plates to hold and push the plunger down.
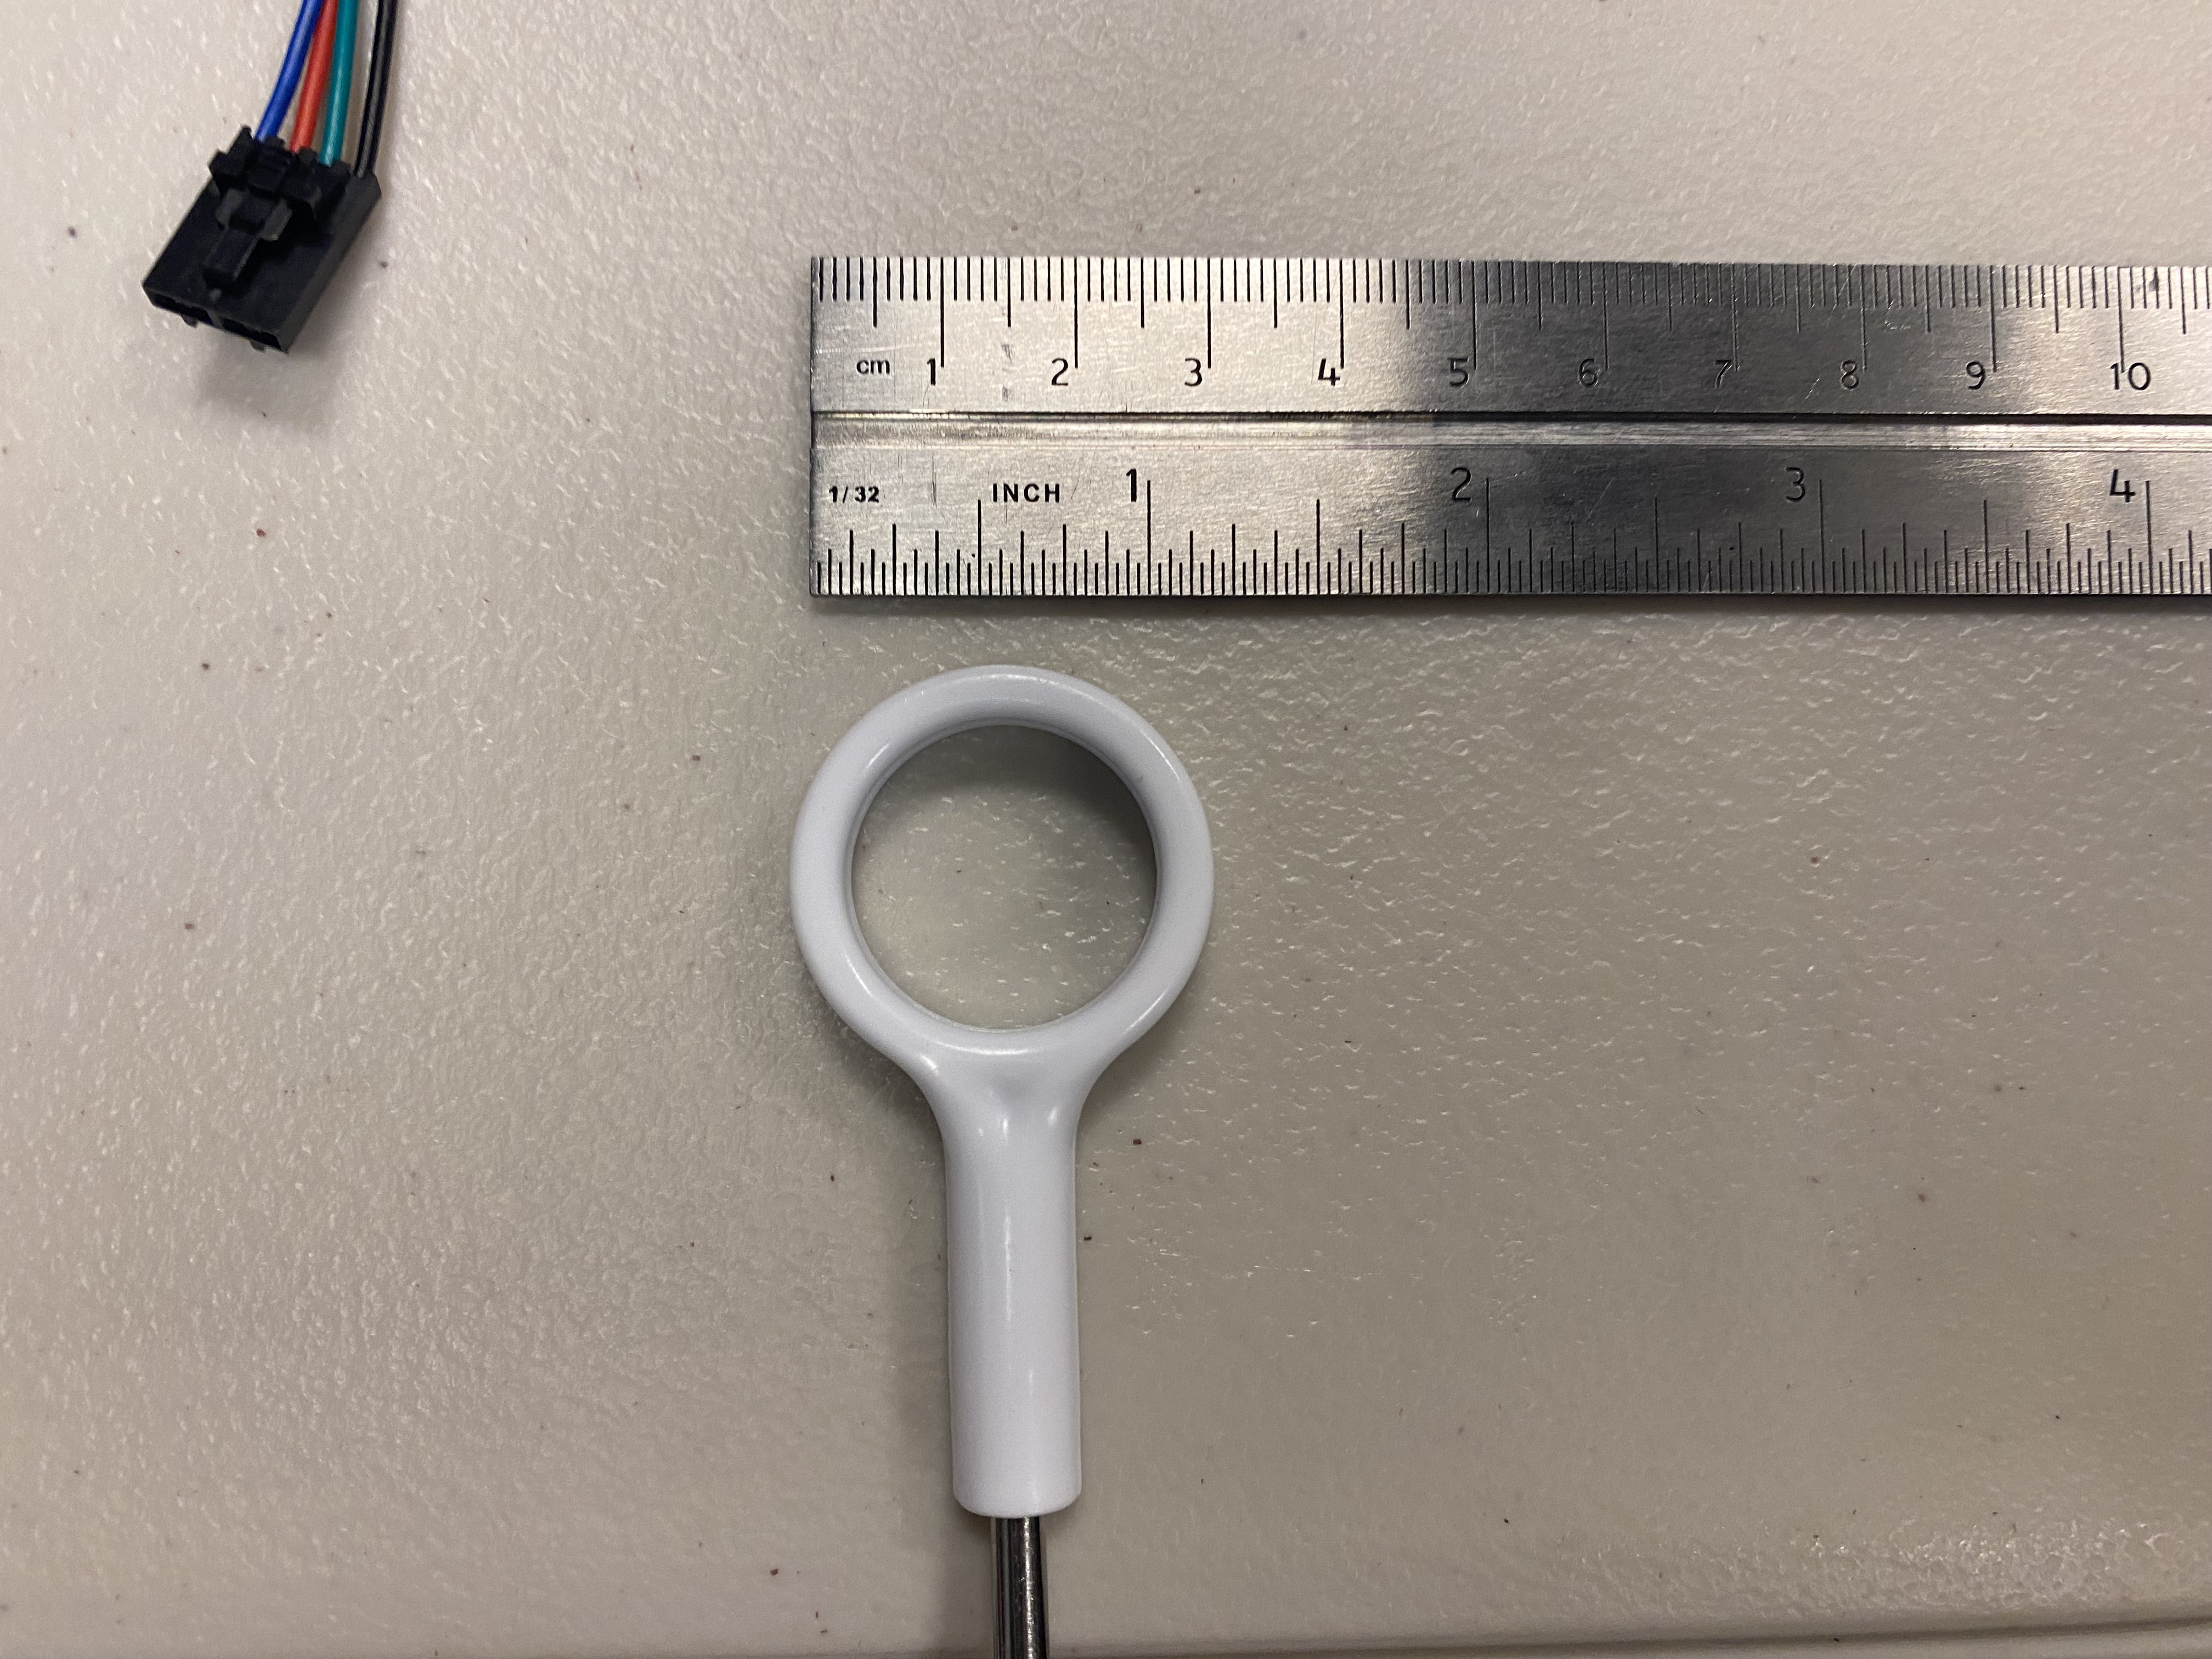
We then cardboard protoyped different holders for both syringes and 3D printed models.
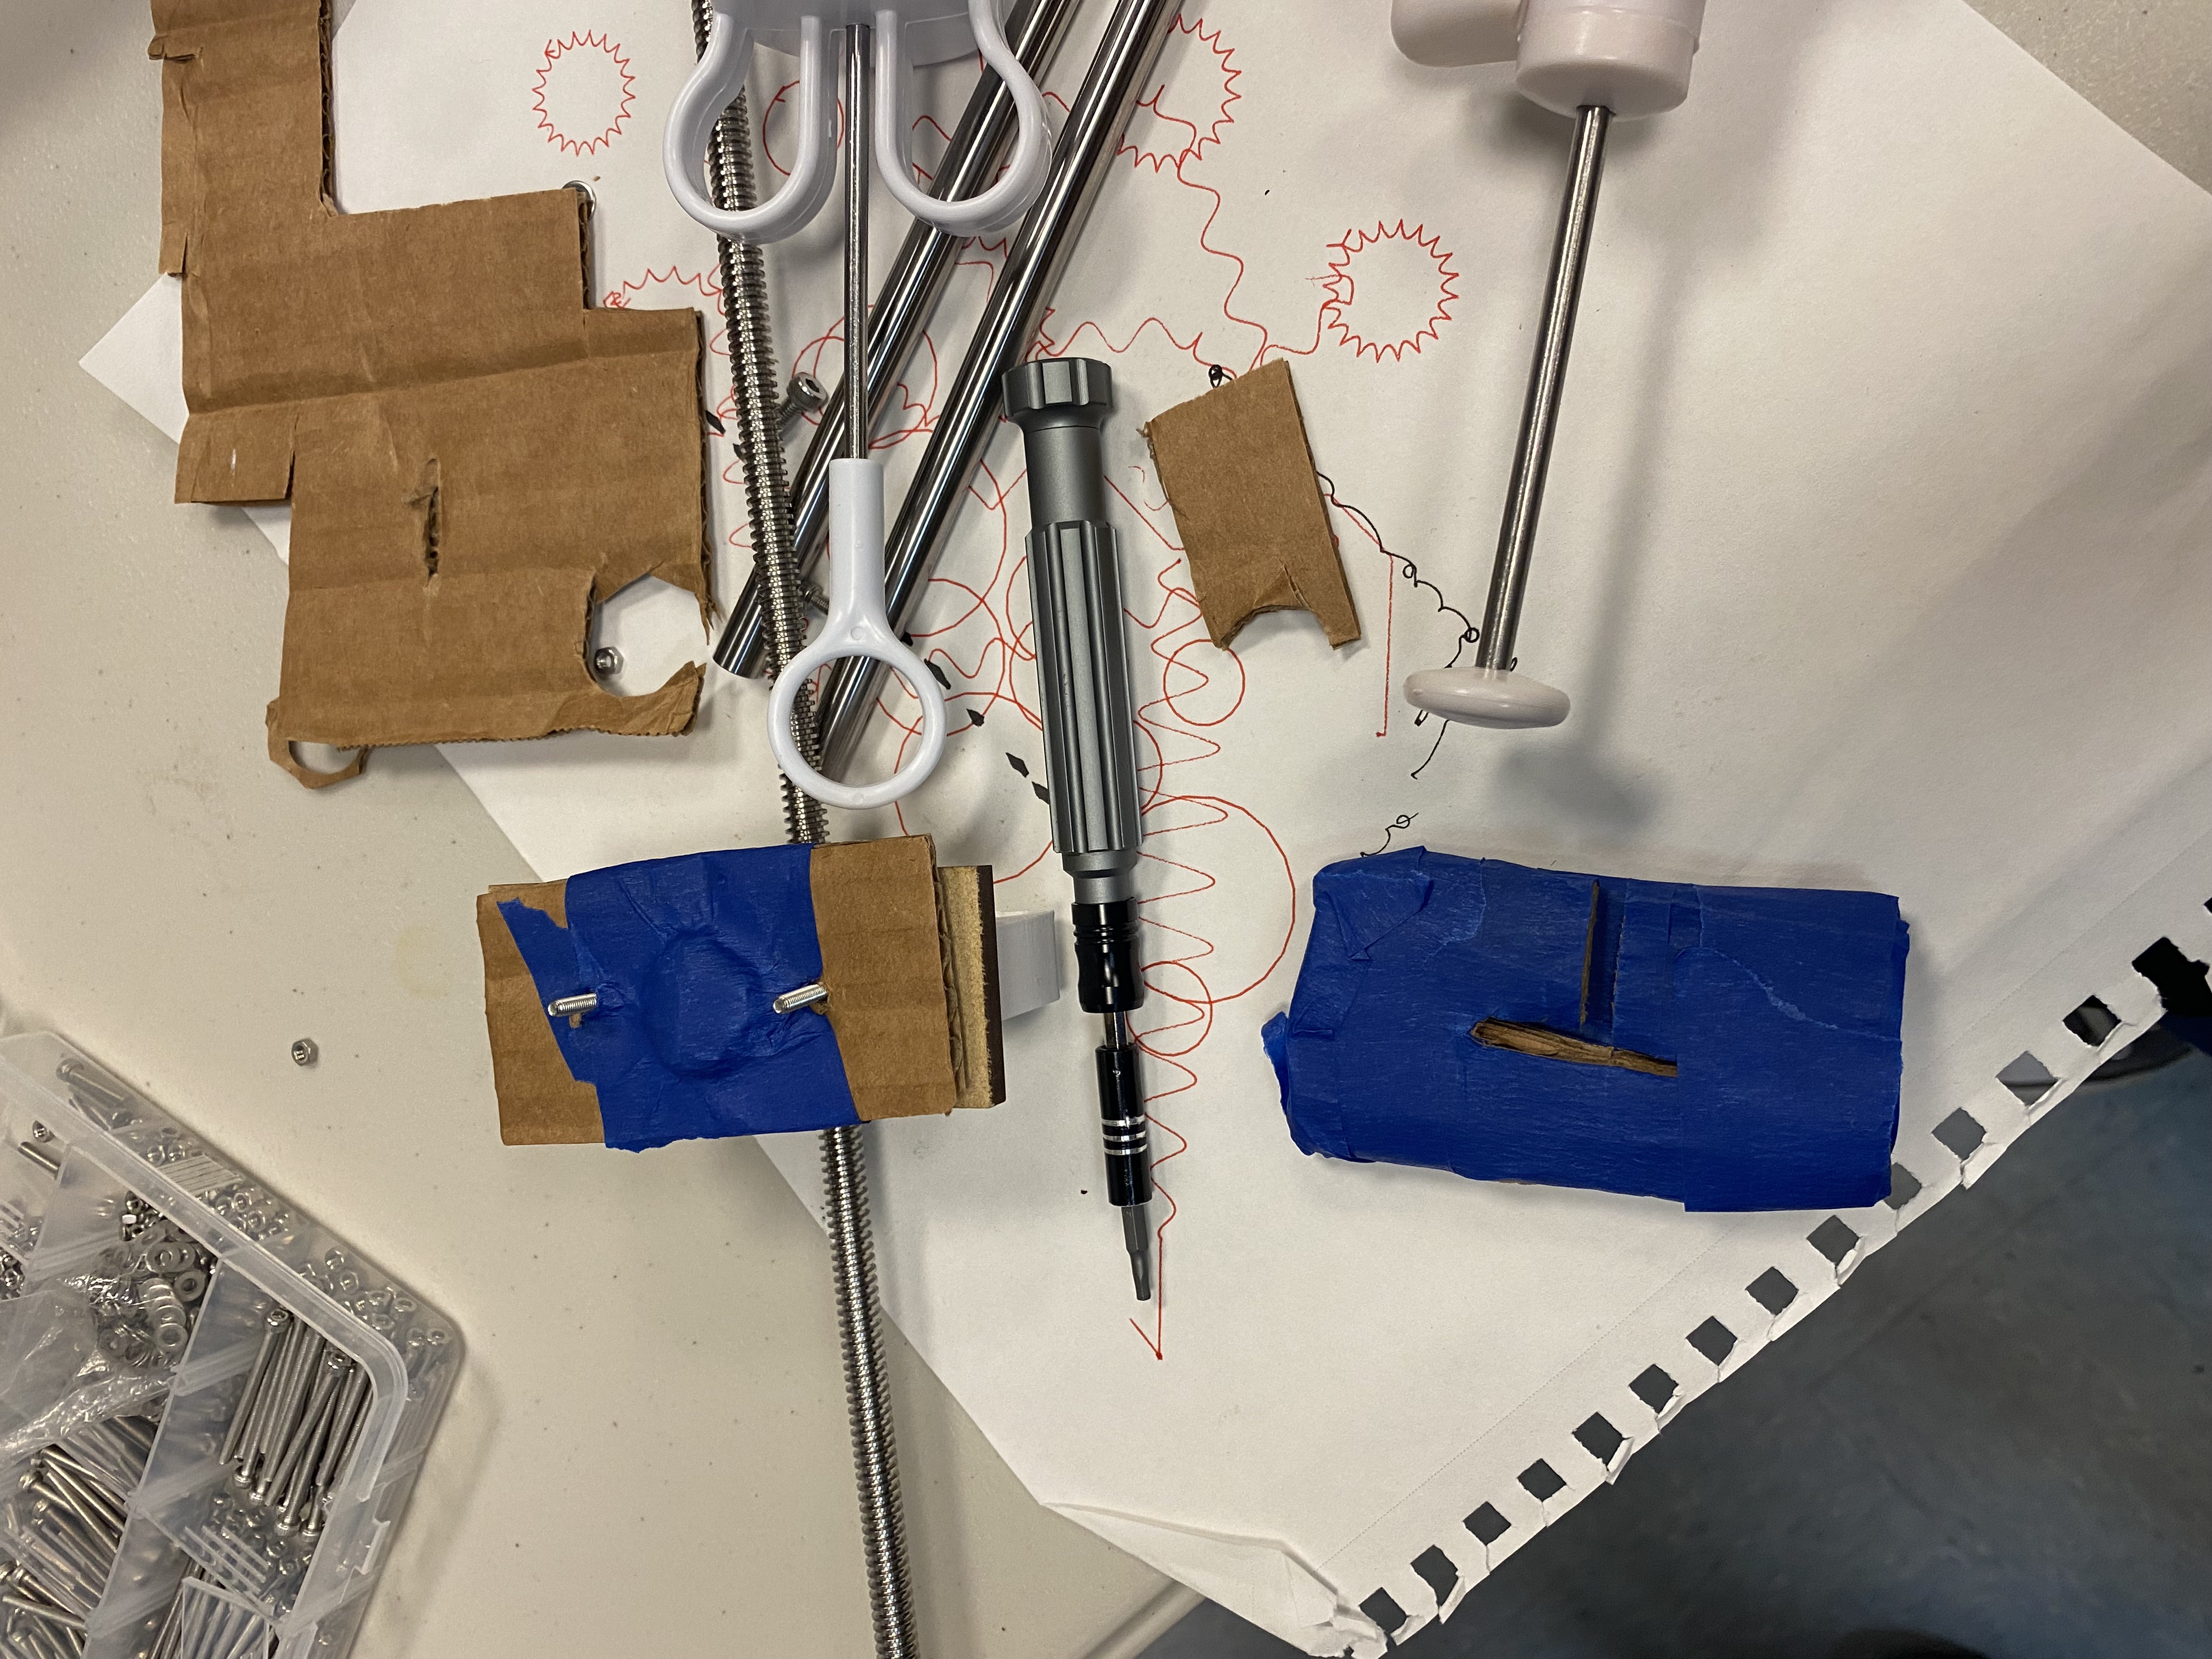
One thing we noticed was that the larger cake piping device or donut frosting syringe required considerable initial force to push the plunger down. The plunger gets stuck due to friction inside of the cylinder.
Therefore we chose the smaller cake piping syringe, as this provides a more constant level of force to move plunger downwards. We designed an insert and hook plate for the plunger to rest in and crudely drilled hole and screw to secure it.
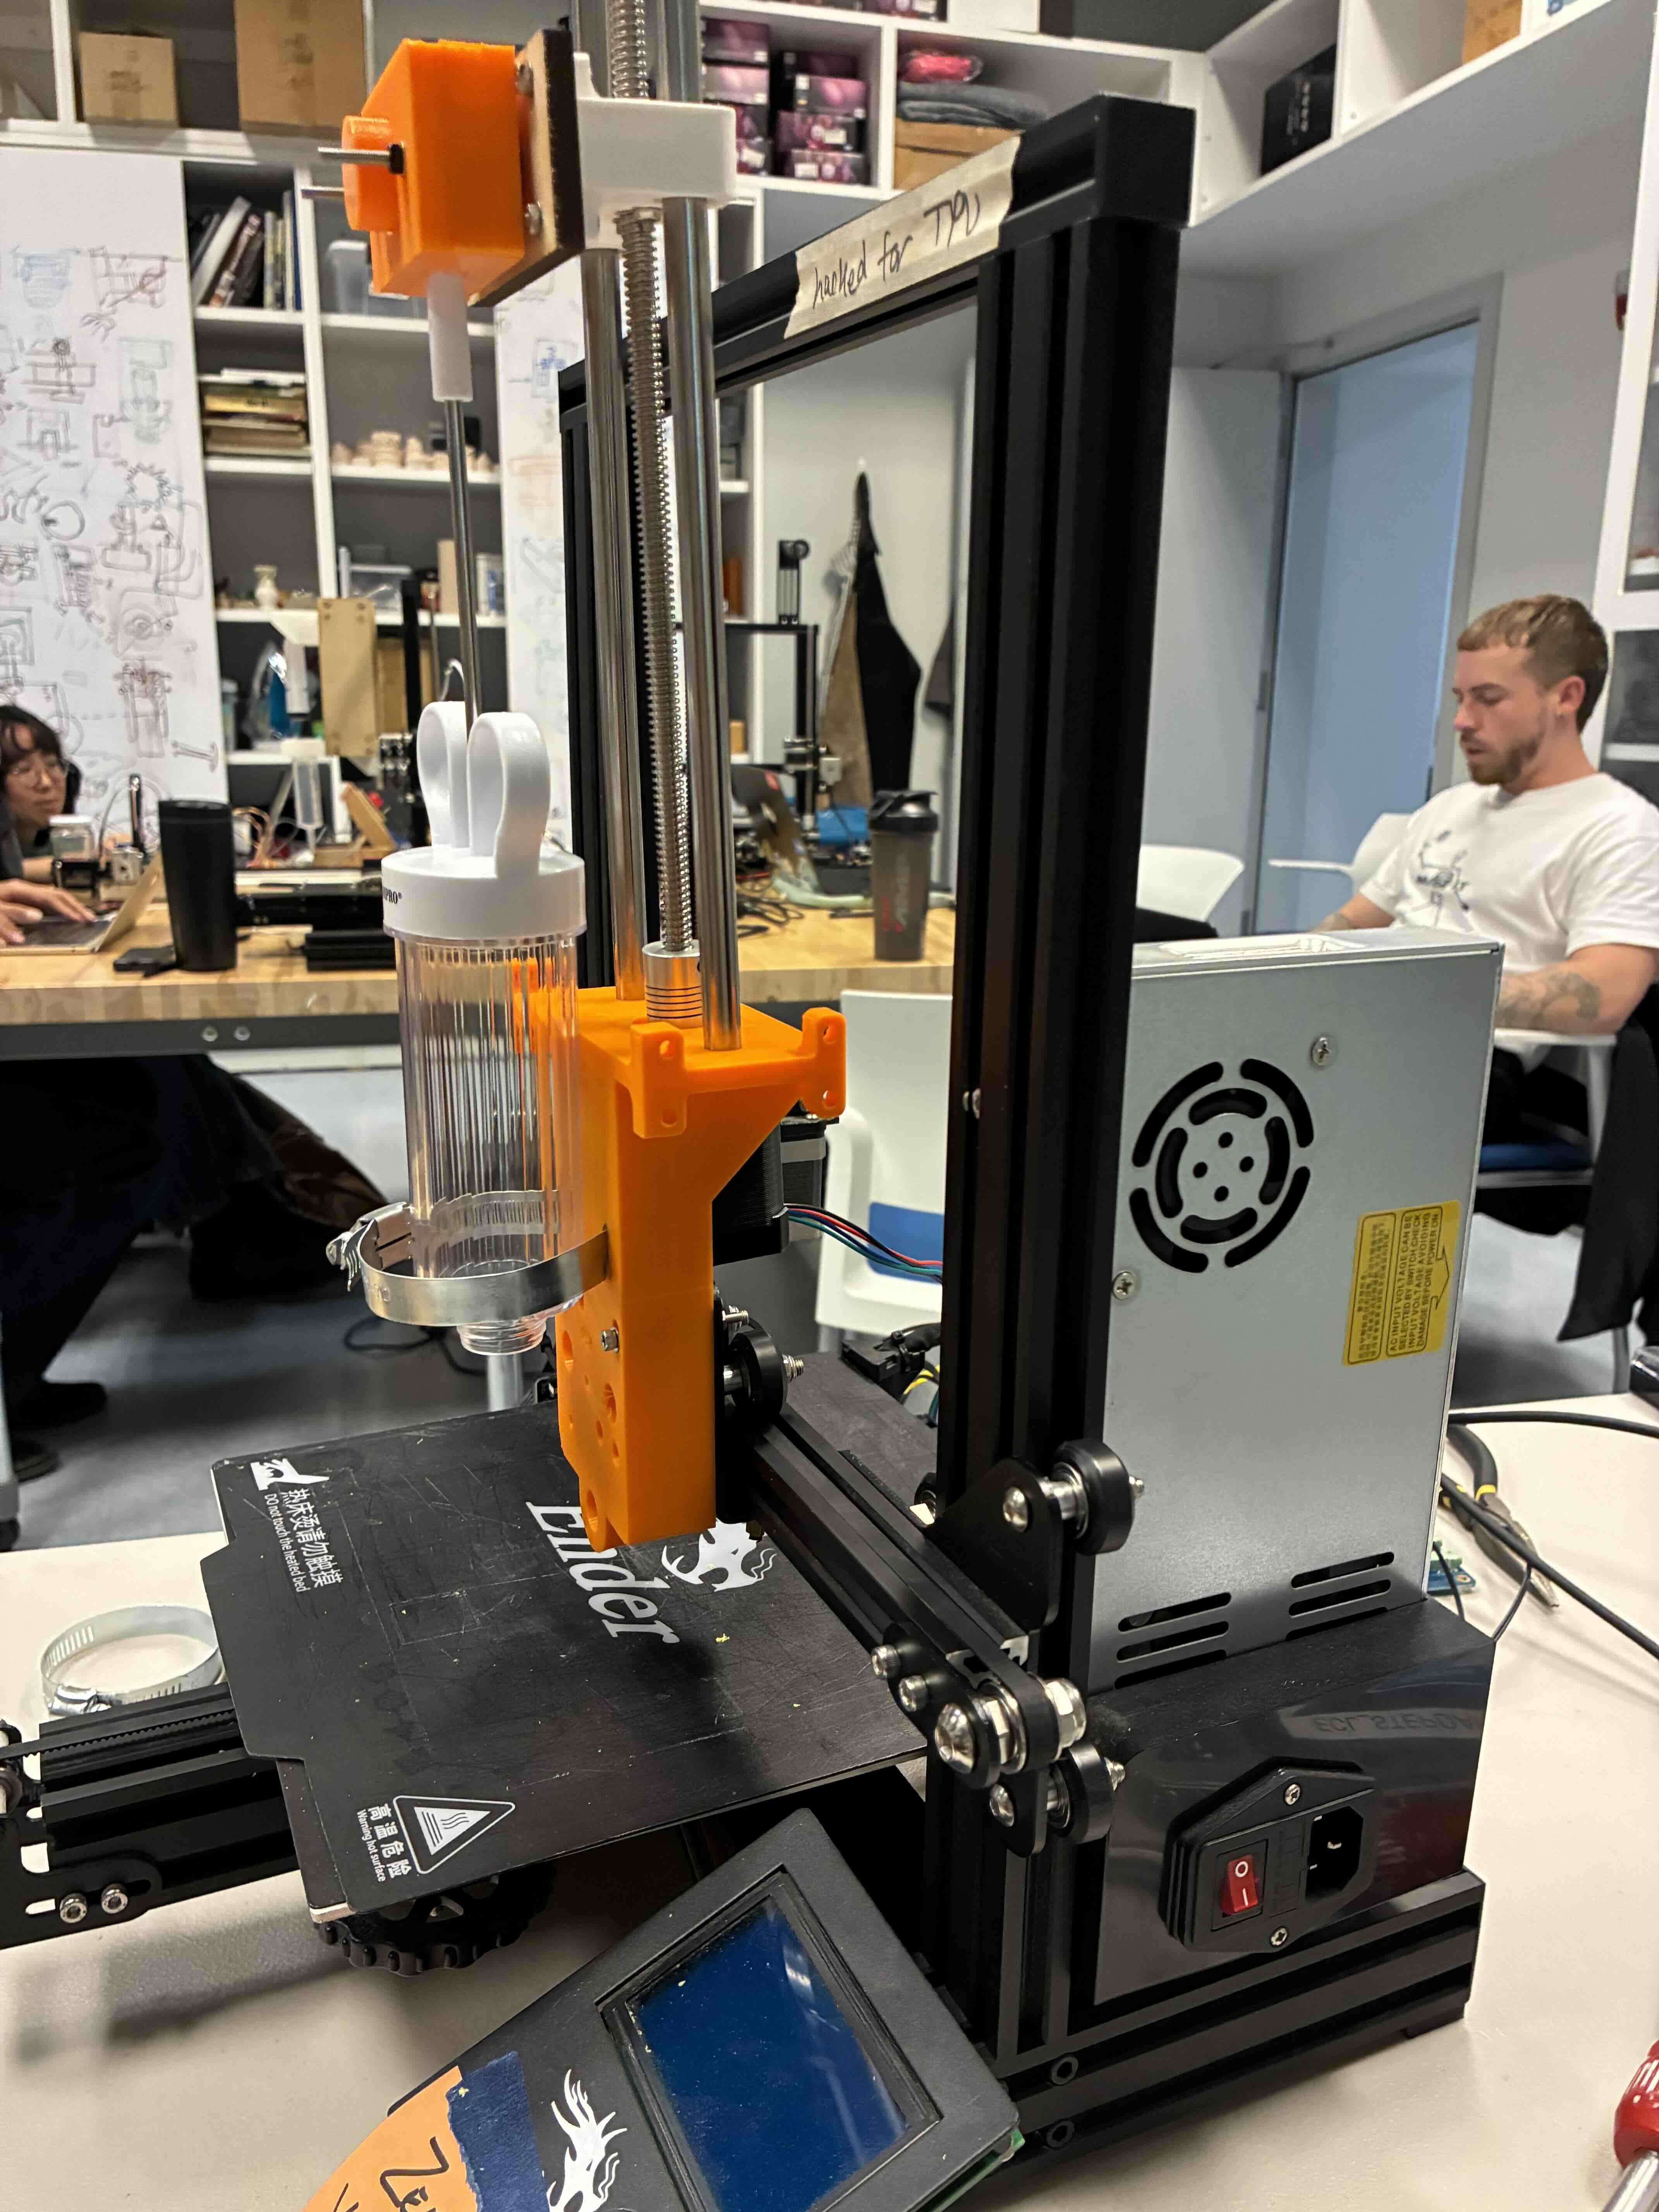
We designed and reprinted our 3D mounting plate and syringe holder.
[![Modeling_CheesePlate]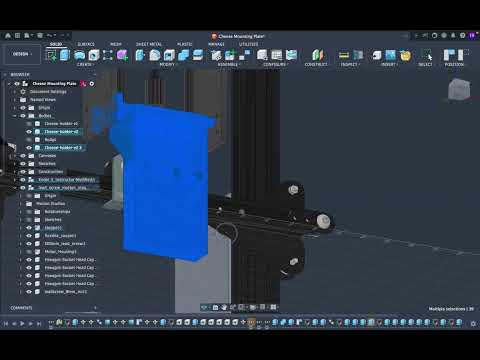
This provide enought stability to conduct our first extrusions tests.
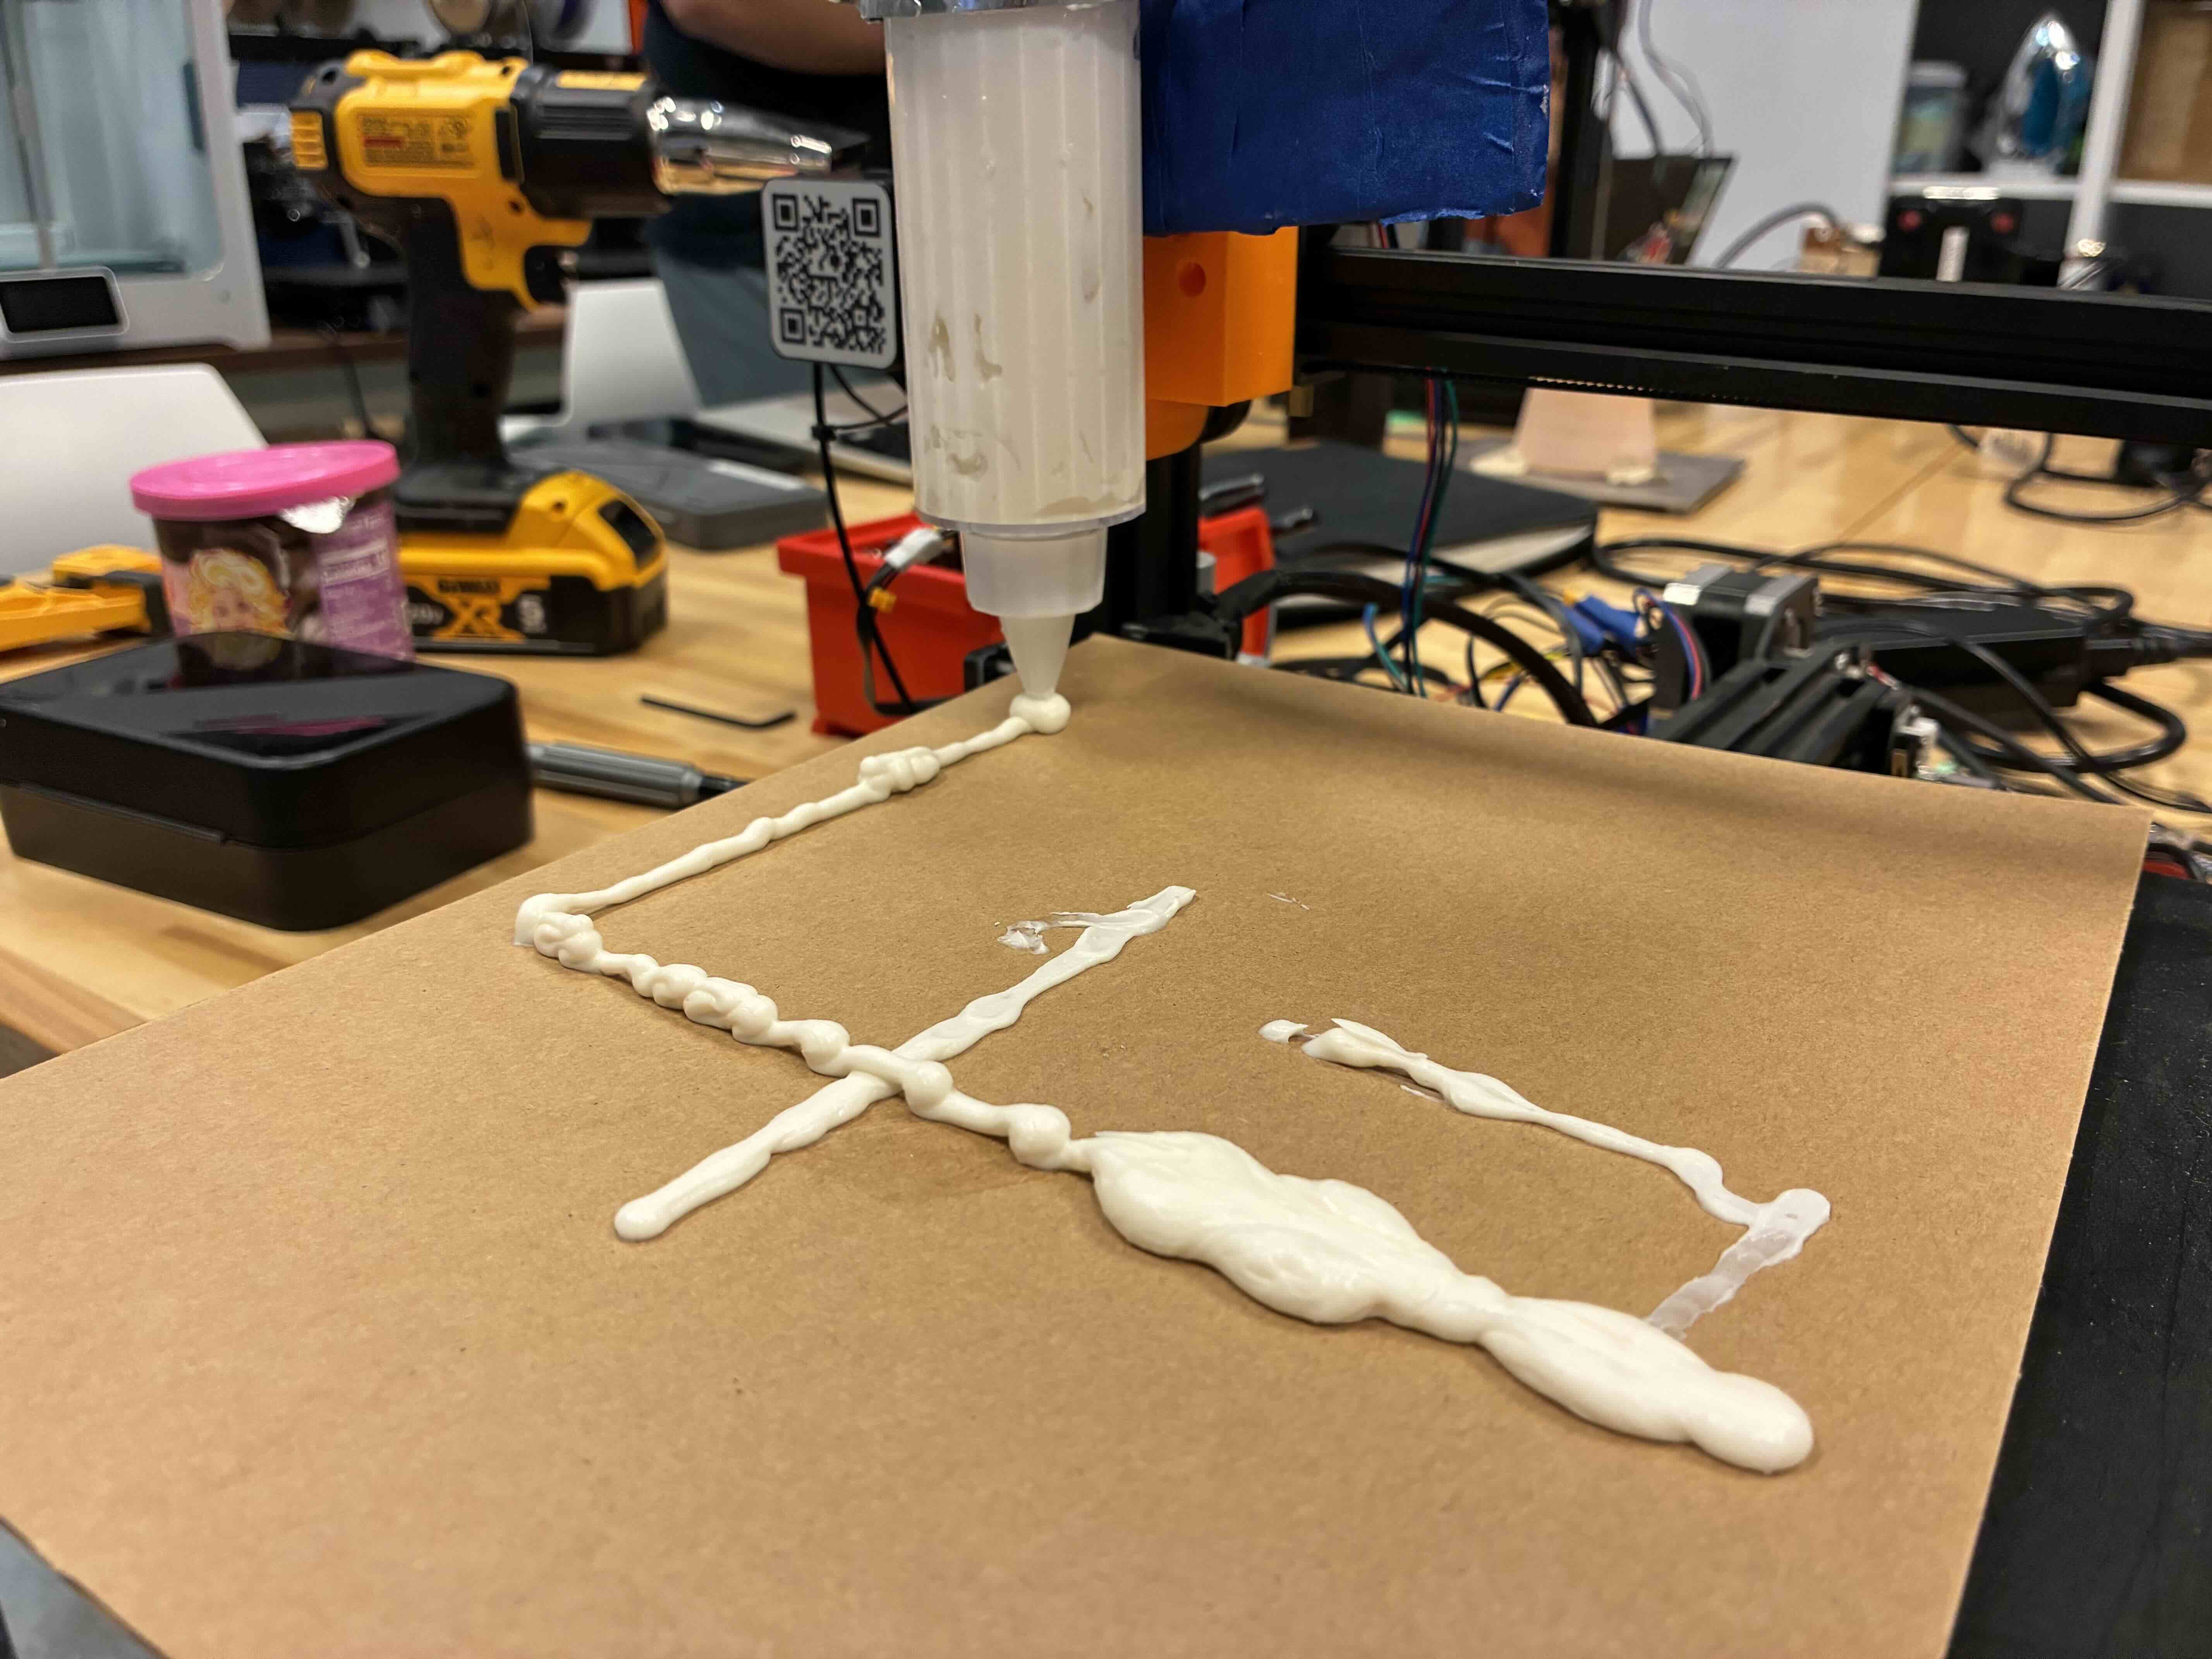
At this point, two encoders controlled the position of the x and y position (we periodically swamped out an encoder to adjust the height of the z-axis). The potentiometer controlled the extrusion rate, (the speed at which the lead rotates). Throughout the project, we continued to use carboard and other material to stabilize the extrusion of the syringe.
For ease of use and testing, we generated a graphical user interface with Claude to provide a greater series of controls over the device. The GUI is written in javascript and connects via Serial Port to the stepdance board.
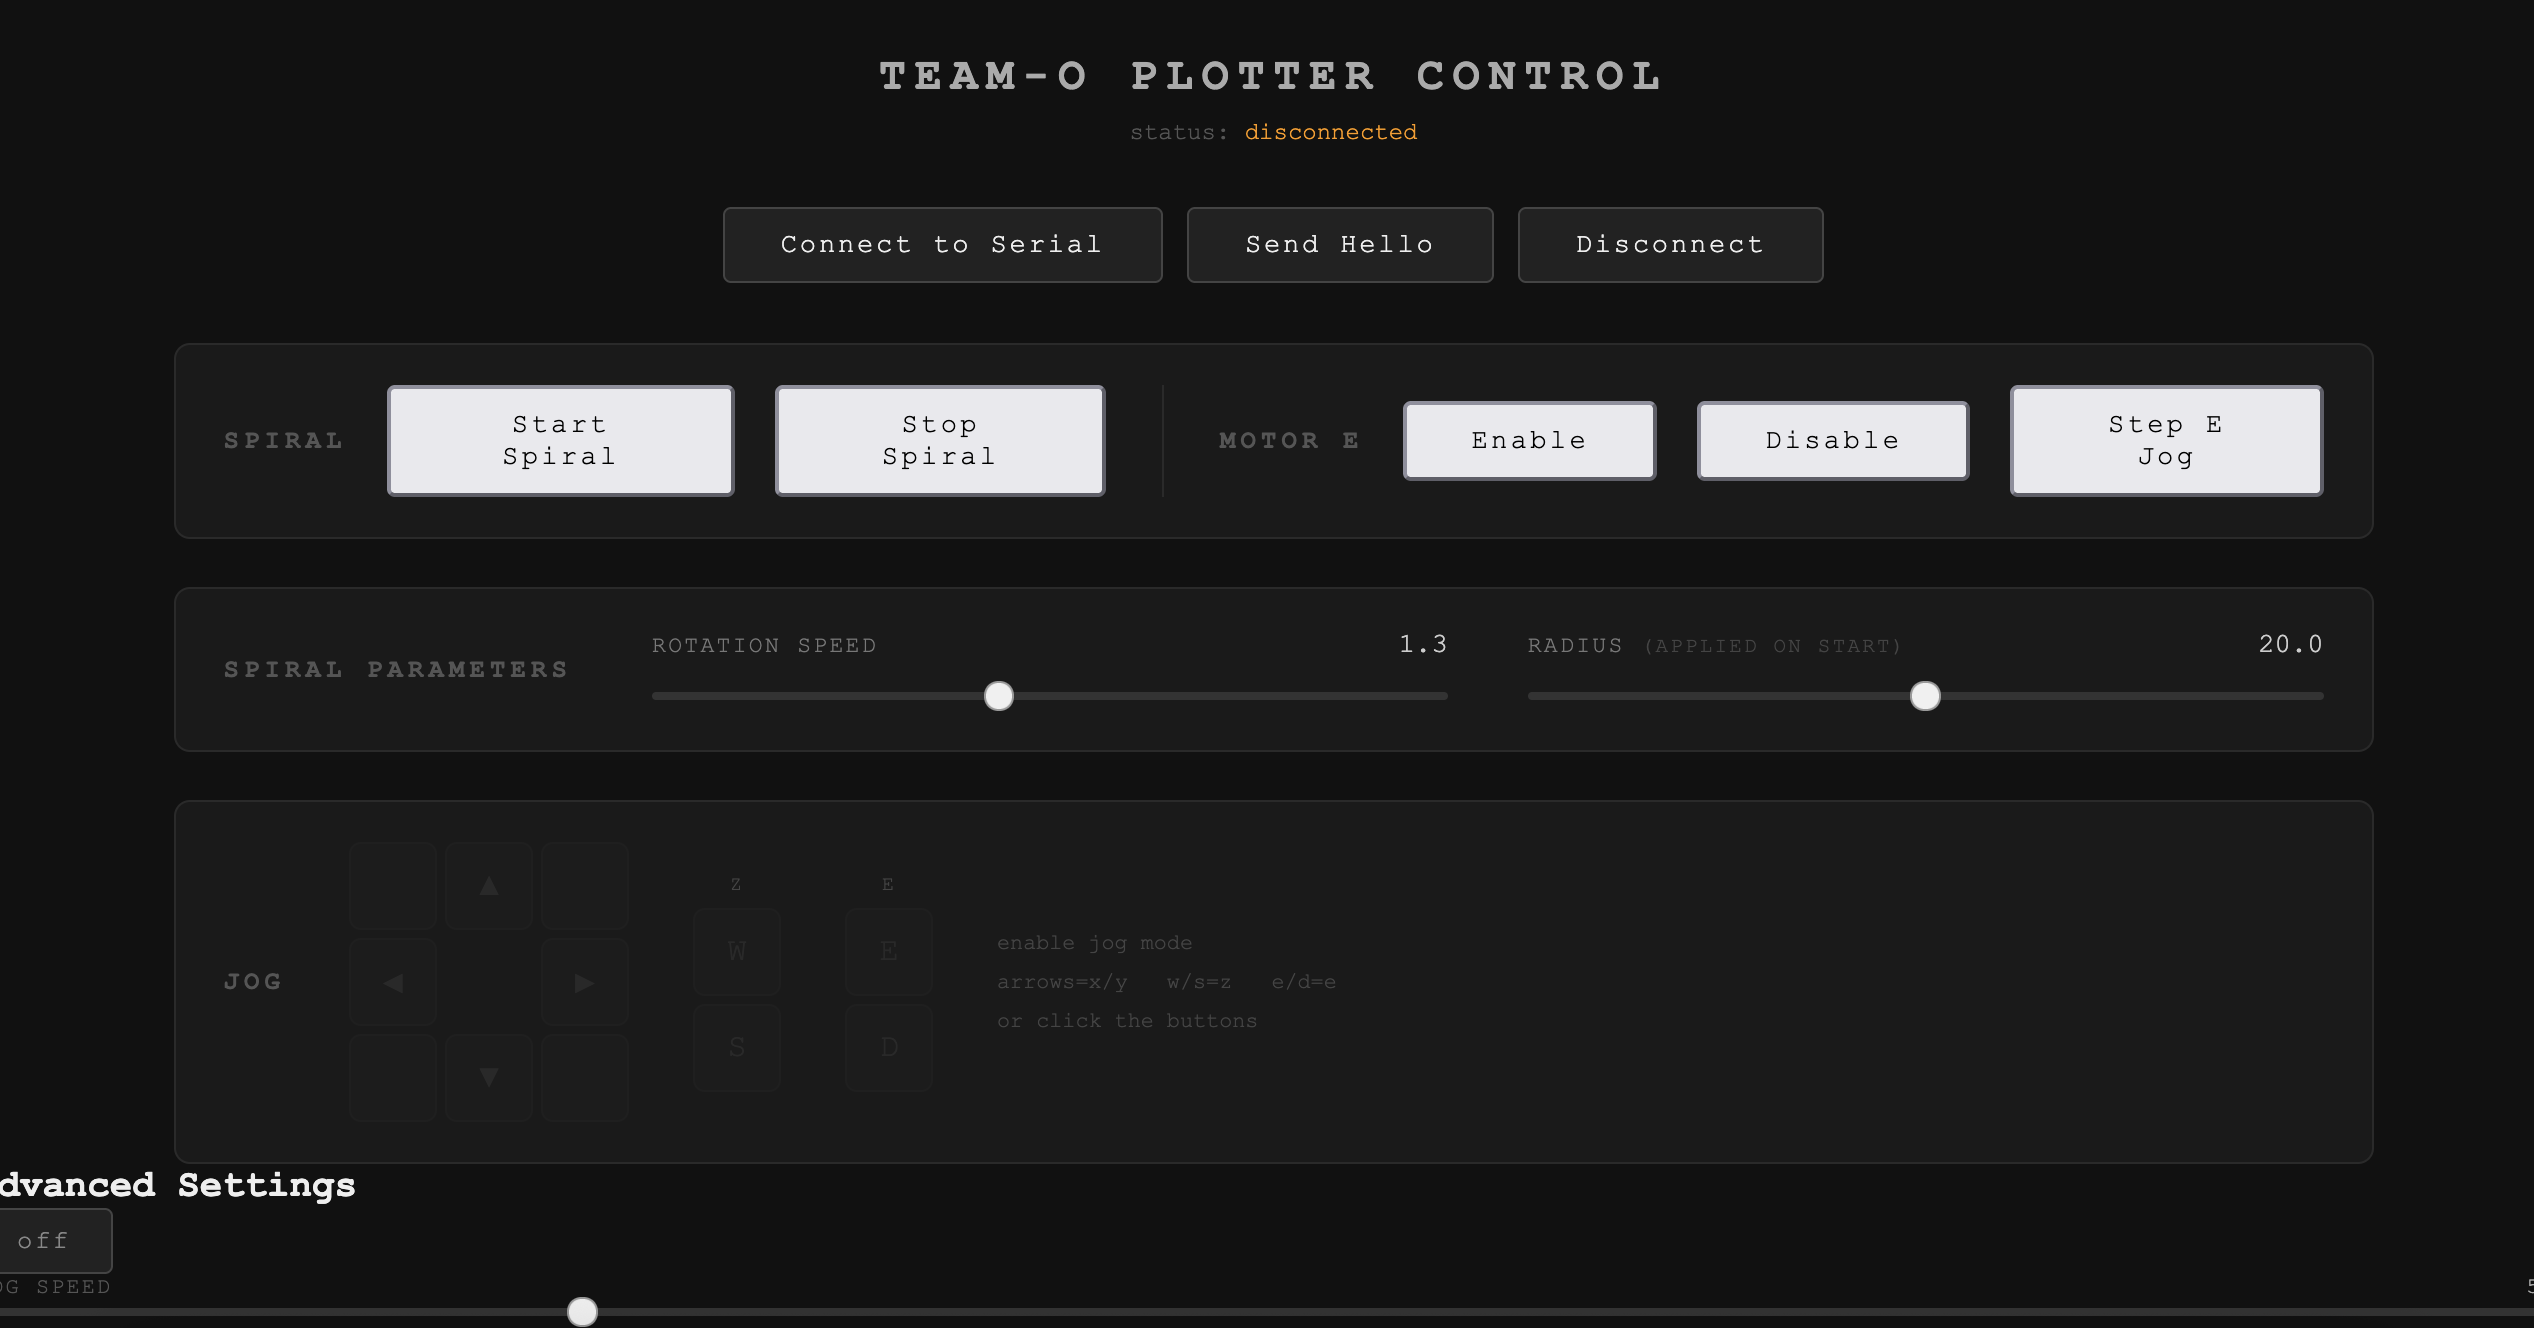
In order to create a rosette pattern, our next step was to create a spiral pattern within the stepdance library, working closely with Emilie and Jennifer.
We programmed a circle, with a decreasing radius while increasing elevation of the z-axis. Within the stepdance library, we used the polar kinematics system with the position generator for the radius, velocity generator for the angle speed. The z-axis elevation or lift uses an angle input and outputs a target position.
We used a pencil to test the output.
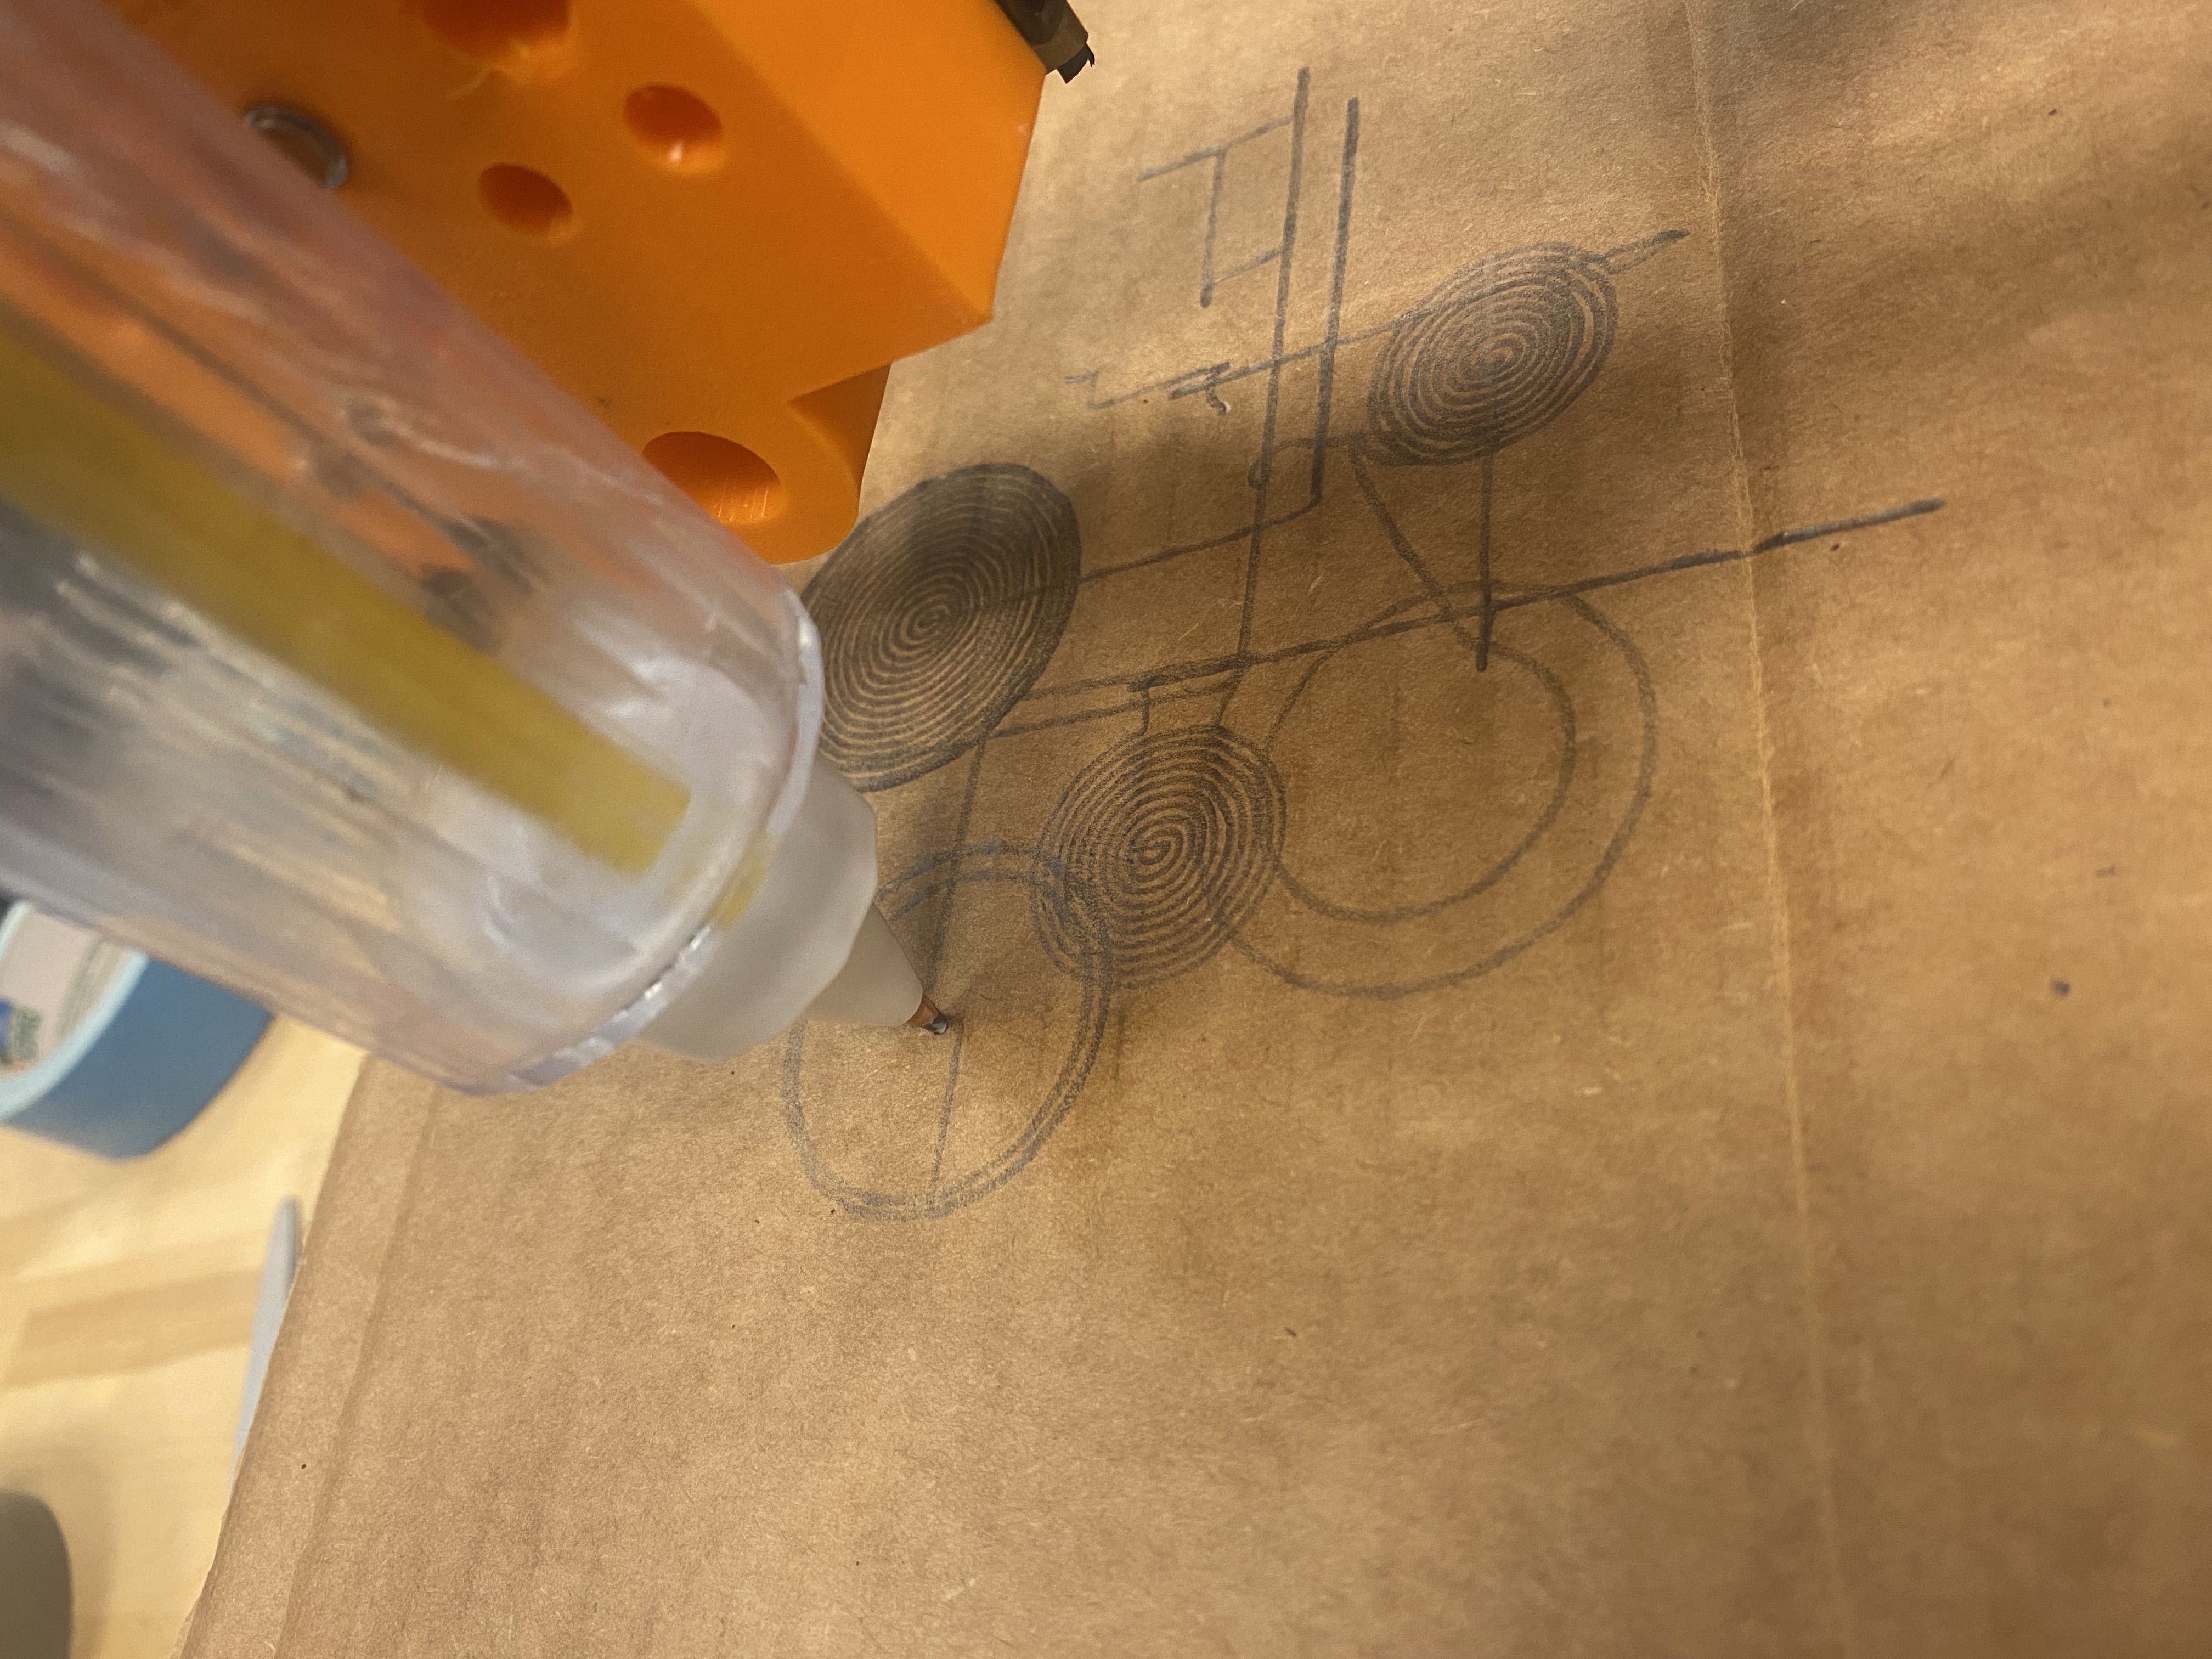

Following this, we conducted a series of extrusion testing focused on determining an angle speed (revolutions per unit) and diameter size to produce a steady stream of cake frosting extrusion.
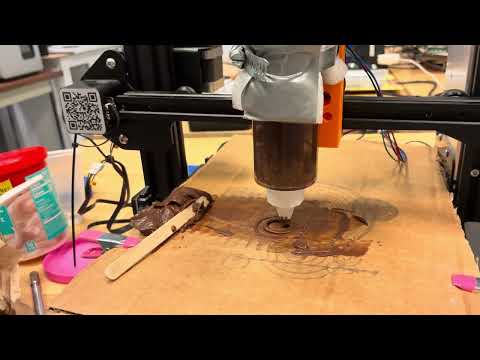
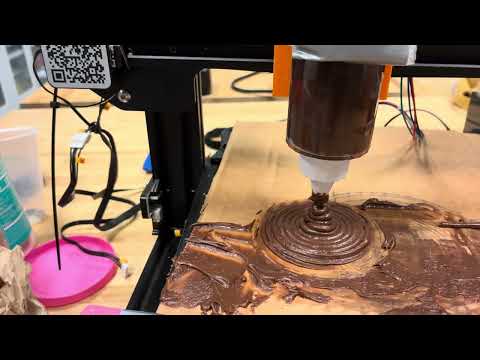
Once we were able to accomplish this, we then moved to creating a series of analog controls for the user. We intended for the user to produce a rossette like pattern with our device.
In consultation with Emilie, we worked to determine which controls and actions should be analog versus digital.
Determing Controls
We decide earlier that the circle diameter and speed were to be set by a screen based user interface. We chose the screen for this interaction to provide the user with visual feedback when they make one of these adjustments. The user then can see and refer to their current and/or previous settings before and after extrude with the machine.
We debated using an analog remote controller for some time and speculated that a game controller would work best as a control system of positioning (x, y, z).
Certainly, the remote allows the user to keep constant eye contact with the extrusion device as they command its positioning, where as the user would navigate the screen based UI while trying to keep track on the devices physical movements.
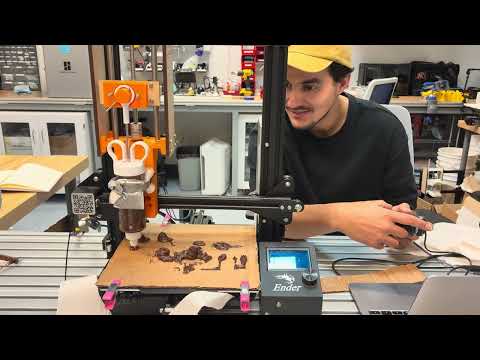
The remote also gives the user control over the z-axis to make adjustments to the extrusion of the pattern design. We thought this would be particularly necessary with regards to food, such as donuts and cupcakes, which do not have a uniform flat surface.
For the user we decided that buttons on the control offered the best affordances in starting and stopping the spiral. As the user positions the nozzle, buttons on the controller provide the ability to start or stop these processes, a continuous workflow, rather than switching back to the screen based application.
With the digital controls determined, we decided to strip the GUI back to the essential controls and redesign the digital interface.
Future Development
-
Quick-change syringe mount — The current syringe holder requires unscrewing to refill. A bayonet or quarter-turn locking collar would let operators swap a pre-filled syringe in seconds, which is critical for production use.
-
Automated point generation and curves — Currently all non-spiral motion is manual jogging. A natural next step is to let the operator define a path (sequence of XY points or a Bézier curve) in the UI and have the machine execute it automatically with consistent speed and extrusion.
-
Spherical / vertical-surface control — A more ambitious extension would add two rotational axes to the head mount, giving spherical reach. Combined with a more viscous or fast-setting material this would allow extrusion on vertical surfaces — sides of cakes, 3D forms — rather than just the top plane.
Reflection
The prototype worked well enough, at the most bare minimum to test two important interaction goals of the project. We were able to successfully extrude consistency, despite the need to repeatedly tighten screws on the machine for each setup. At the same time, we were able to create a rosette-like pattern and dots but the longevity of a device is short-lived.
Our approach as a team initially was a down and dirty approach to prototyping. We certainly wanted to rush bullishly towards building a prototype that extruded something. The ECL team made clear to us the importance of conceptualization and modeling. This without a doubt lead to a much higher degree of prototype than we pursued our initial instincts.
That said, after each new version of our 3D prototypes, we drilled holes, piece together cardboard and so forth.
Incorporating, learning and working at length in this engineering space significantly reduced the number of prototypes we had to build. As a team, we both came to appreciate and value the importance of spending considerable time on engineering as a process of design and prototyping.
To have stable positioning and movement of an extruding syringe balance on a 3D printer plate is a feat of engineering knowledge. And as a team we spent considerable lab working with the ECL team.
Through this, we certainly learned how to tackle specific engineering challenges, but also how to anticipate engineering issues with each design solution you devise. At the same time coming to appreciate the exactness and reproducibility in order to build successful prototypes that you can test and retest.
Our goal was to make a device in which cake piping can be fun. Such a machine should be fun. As a classmate mentioned, its greatest value lies in its ability to support accessibility.
As a team we hold the value that the purpose of machines is to support human activity and creativity.
Our main challenges revolved around understanding the many dimensions of extrusions from machine stability to viscosity of fluids. In using the design of the cheese plate, we copied and pasted to a new fusion file. In effect, this did not create an actual copy of the design file and we needed to redesign the Fusion from scratch. Along with this and the need to make adjustments to our prototype led both us to significantly increase our ability to use and model within Fusion.